Picture this: you’re making a delicious pesto, but you're out of fresh basil! A quick trip to the grocery store solves the problem, but what if you could extend the life of that store-bought basil and create an endless supply? The good news is, with a little know-how, you absolutely can! Growing Basil From Store-Bought: A Complete Guide So, can you really grow basil from store bought bunches? Absolutely! It's a fantastic way to save money, reduce waste, and enjoy fresh basil whenever you need it. However, the success of growing basil from store bought depends on a few key factors. This article will walk you through the entire process, from selecting the right basil to harvesting your homegrown leaves. We'll cover everything you need to know to successfully propagate basil from your grocery store haul. Selecting the Right Store-Bought Basil for Propagation Not all store-bought basil is created equal when it comes to propagation. To increase your ...
Imagine the fragrant, anise-tinged aroma of fresh Thai basil wafting through your apartment. No more trips to the grocery store for sad, wilted bunches – you can have a thriving herb garden right on your windowsill! Growing Thai basil indoors is easier than you think, even if you don't have a green thumb. Let's dive into the secrets of cultivating this culinary gem in your apartment.
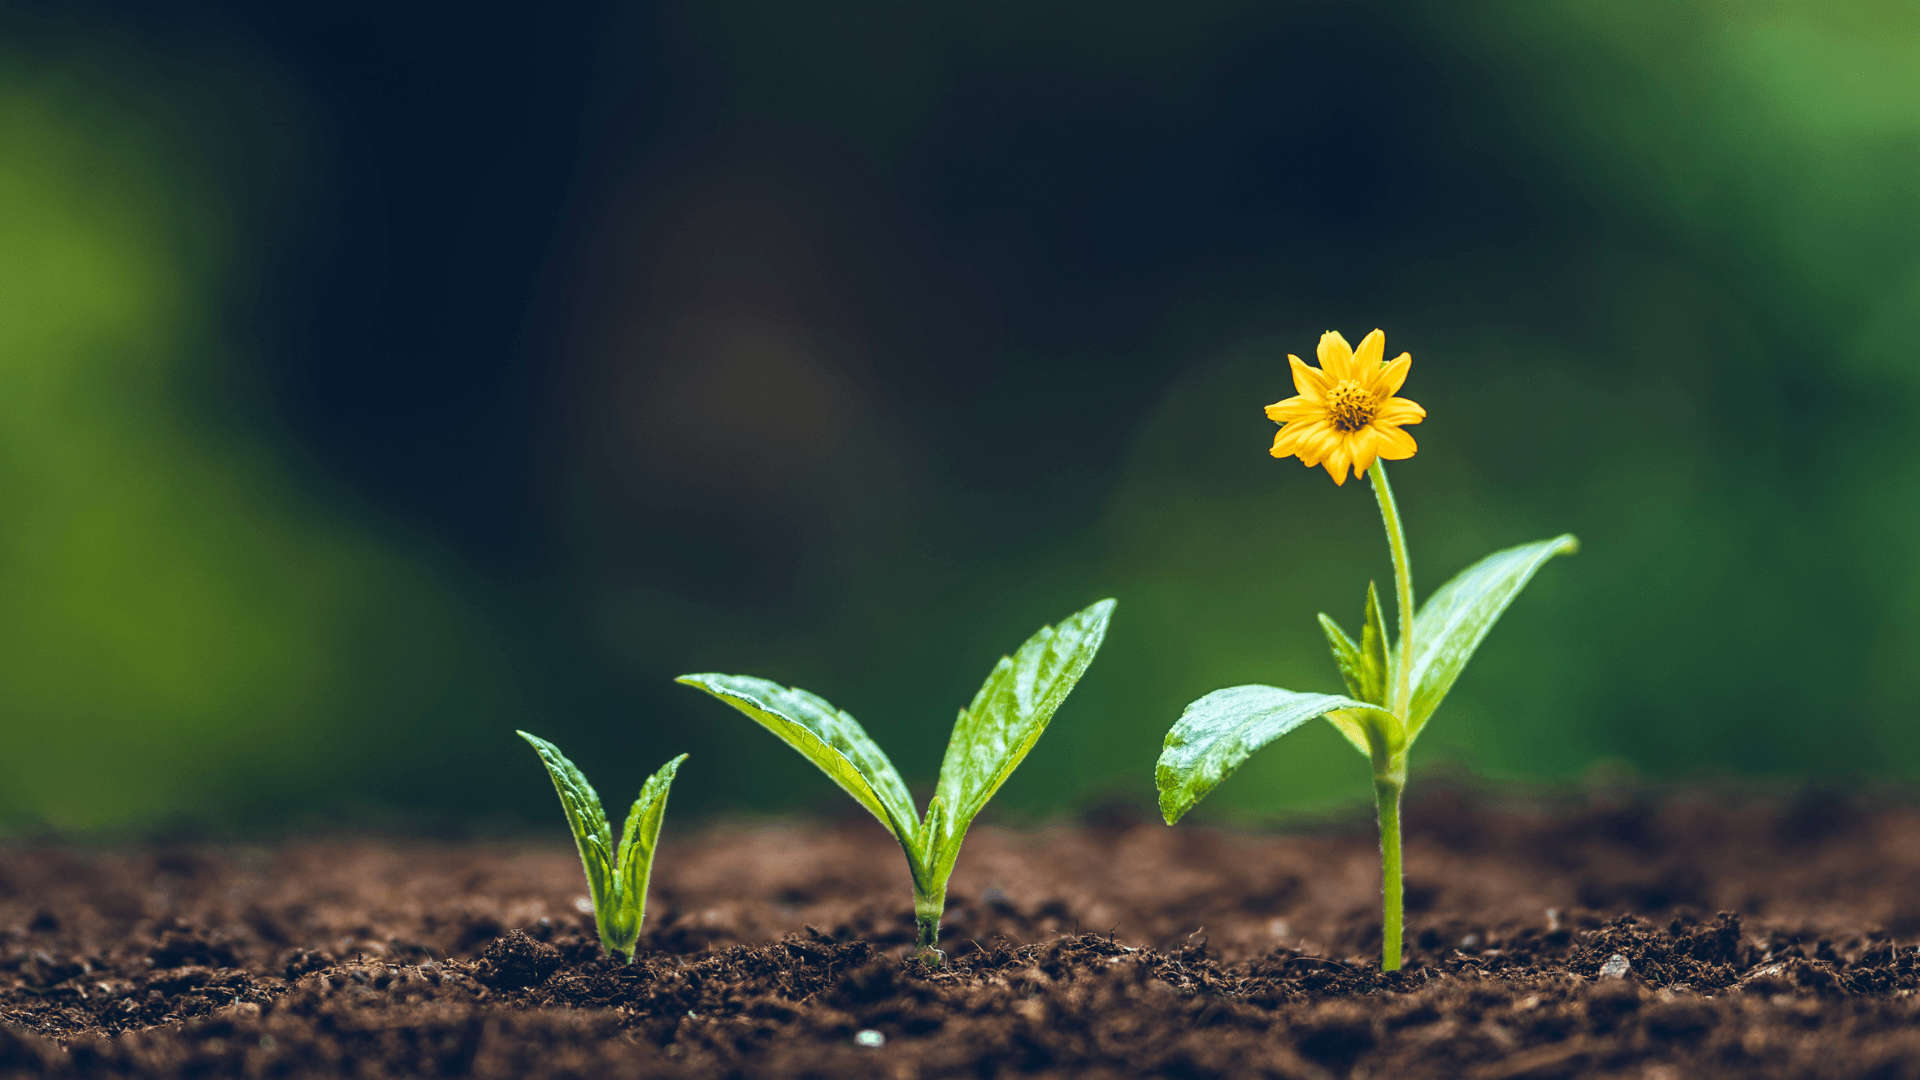
Getting Started: Growing Thai Basil in Your Apartment
Before you even think about planting, let's talk about the essentials for successfully growing Thai basil inside your apartment. The key is to mimic the conditions Thai basil thrives in – warmth, sunlight, and well-drained soil. These simple factors can mean the difference between a flourishing herb and a sad, stunted plant.
Choosing the Right Variety for Apartment Growing
While all Thai basil varieties share that characteristic licorice flavor, some are better suited for indoor, apartment growing than others. Here's a quick rundown:
- Thai Sweet Basil: This is the most common variety and readily available. It's a good all-around choice for beginners.
- Siam Queen Basil: Known for its vibrant purple stems and large, fragrant leaves, Siam Queen adds a touch of visual appeal to your apartment garden. It's also slightly more compact, making it ideal for smaller spaces.
- Horapha: Another popular variety, Horapha, offers a slightly spicier flavor profile. It can grow a bit larger, so be sure you have enough room.
Sourcing Your Thai Basil: Seeds vs. Cuttings
You have two main options for acquiring your Thai basil: starting from seeds or propagating from cuttings. Both have their pros and cons.
Starting from Seeds
Growing Thai basil from seeds offers a wider selection of varieties and is generally more affordable. However, it requires more patience and attention to detail. Here's how to do it:
- Start Seeds Indoors: Sow seeds 6-8 weeks before the last expected frost (if you are in an area with frost). Since you are growing indoors, this is less of a factor but gives your plants a head start.
- Use Seed Starting Mix: Avoid using regular potting soil for starting seeds. Seed starting mix is lighter and provides better drainage, crucial for delicate seedlings.
- Sow Seeds Shallowly: Sprinkle seeds on the surface of the soil and lightly cover them with a thin layer of mix.
- Keep Moist: Water gently, using a spray bottle to avoid disturbing the seeds. Cover the container with a plastic dome or plastic wrap to maintain humidity.
- Provide Warmth: Seeds germinate best in warm conditions (around 70-75°F). Use a heat mat if needed.
- Provide Light: Once seedlings emerge, provide plenty of light. A sunny windowsill or grow light works well.
- Transplant Seedlings: When seedlings have developed a few sets of true leaves, transplant them into individual pots.
Propagating from Cuttings
Propagating from cuttings is a faster and easier method, especially if you already have access to a healthy Thai basil plant. This method is essentially cloning the parent plant.
- Take Cuttings: Select healthy stems about 4-6 inches long. Remove the lower leaves, leaving only a few leaves at the top.
- Root in Water: Place the cuttings in a glass or jar filled with water. Make sure the lower nodes (where leaves were removed) are submerged.
- Change Water Regularly: Change the water every 1-2 days to prevent bacterial growth.
- Wait for Roots: In a week or two, roots will begin to emerge from the nodes.
- Plant in Soil: Once the roots are about an inch long, plant the cuttings in individual pots filled with well-draining potting mix.
Choosing the Right Pot and Soil
Your choice of pot and soil plays a vital role in the health and growth of your Thai basil. Opt for a pot that is at least 6 inches in diameter and has drainage holes. Drainage is paramount to prevent root rot. As for soil, a well-draining potting mix is essential. Avoid using garden soil, as it can be too heavy and compact for container gardening. Look for a potting mix specifically formulated for herbs or vegetables. You can also amend regular potting mix with perlite or vermiculite to improve drainage.
To ensure your garden thrives, consider using a qualitygarden hose 75 FT with 10-Function Nozzle, leak-proof metal connector, and a kink-free design for easy watering. Such a durable watering solution is an investment in your plants' health, and you can find a great option here: https://amzn.to/3Yv E0Bo. Investing in a reliable 75 foot water hose*with multiple spray settings ensures your plants receive the perfect amount of hydration every time.
Caring for Your Thai Basil Plant in Your Apartment
Once your Thai basil is planted, the real work begins! Proper care is crucial for ensuring a bountiful harvest of fragrant leaves. Remember to observe your plant regularly and adjust your care routine as needed based on its specific needs.
Providing Adequate Sunlight
Thai basil craves sunlight. Aim for at least 6-8 hours of direct sunlight per day. A south-facing window is ideal. If you don't have enough natural light, supplement with a grow light. Place the grow light a few inches above the plant and keep it on for 12-14 hours per day. Without adequate sunlight, your Thai basil will become leggy and produce fewer leaves. Sunlight is its fuel, so give it plenty!
Watering and Fertilizing
Water your Thai basil when the top inch of soil feels dry to the touch. Avoid overwatering, as this can lead to root rot. Water thoroughly, allowing excess water to drain out of the drainage holes. During the growing season (spring and summer), fertilize your Thai basil every 2-3 weeks with a balanced liquid fertilizer diluted to half strength. In the fall and winter, reduce watering and fertilizing as the plant's growth slows down. Remember that underwatering and overwatering can both result in the plant showing yellow or brown leaves.
Pruning and Harvesting
Pruning is essential for maintaining a bushy and productive Thai basil plant. Pinch off the top sets of leaves regularly to encourage side growth. This will also prevent the plant from flowering, which can diminish the flavor of the leaves. When harvesting, cut stems above a leaf node. This will encourage new growth from that point. Don't be afraid to harvest generously! The more you harvest, the more your plant will produce. Regular pruning also helps ensure that the plant stays relatively compact for apartment living.
Dealing with Pests and Diseases
While Thai basil is relatively pest-resistant, it can occasionally be affected by aphids, spider mites, or whiteflies. Inspect your plants regularly for signs of infestation. If you find pests, treat them with insecticidal soap or neem oil. For fungal diseases, ensure good air circulation and avoid overwatering. You can also use a fungicide if necessary. Early detection and treatment are key to preventing serious problems. A healthy plant is also more resistant to pests and diseases, so focus on providing optimal growing conditions.
Troubleshooting Common Issues When Growing Thai Basil in Your Apartment
Even with the best intentions, you might encounter some challenges when growing Thai basil indoors. Here are some common issues and how to address them.
Yellowing Leaves
Yellowing leaves can be caused by a variety of factors, including overwatering, underwatering, nutrient deficiencies, or pest infestations. Check the moisture level of the soil and adjust your watering schedule accordingly. If the leaves are uniformly yellow, it could indicate a nutrient deficiency. Fertilize with a balanced liquid fertilizer. If you notice pests, treat them as described above.
Leggy Growth
Leggy growth, characterized by long, spindly stems and sparse leaves, is usually a sign of insufficient light. Move your Thai basil to a sunnier location or supplement with a grow light.
Lack of Flavor
If your Thai basil lacks flavor, it could be due to overwatering, insufficient sunlight, or allowing the plant to flower. Ensure that you are providing adequate sunlight and water only when the top inch of soil is dry. Pinch off any flower buds to maintain the flavor of the leaves.
Enjoying Your Homegrown Thai Basil
Now that you've successfully grown your own Thai basil, it's time to enjoy the fruits (or rather, leaves) of your labor! Fresh Thai basil adds a burst of flavor to a wide variety of dishes, from Thai curries and stir-fries to salads and soups. Experiment with different recipes and savor the taste of your homegrown goodness. You can even dry or freeze Thai basil for later use. To dry, hang stems upside down in a cool, dark place until the leaves are brittle. To freeze, chop the leaves and freeze them in ice cube trays with water or oil. Enjoy the aromatic and flavorful addition of fresh Thai basil to your culinary creations!