Picture this: you’re making a delicious pesto, but you're out of fresh basil! A quick trip to the grocery store solves the problem, but what if you could extend the life of that store-bought basil and create an endless supply? The good news is, with a little know-how, you absolutely can! Growing Basil From Store-Bought: A Complete Guide So, can you really grow basil from store bought bunches? Absolutely! It's a fantastic way to save money, reduce waste, and enjoy fresh basil whenever you need it. However, the success of growing basil from store bought depends on a few key factors. This article will walk you through the entire process, from selecting the right basil to harvesting your homegrown leaves. We'll cover everything you need to know to successfully propagate basil from your grocery store haul. Selecting the Right Store-Bought Basil for Propagation Not all store-bought basil is created equal when it comes to propagation. To increase your ...
There's something incredibly satisfying about snipping fresh basil leaves straight from your own garden to add to a Caprese salad or a pesto sauce. And the best part? You don't need a sprawling backyard to experience this joy. Growing Greek basil in pots is a simple and rewarding project, even for beginner gardeners. Let's dive into how you can cultivate your own fragrant, flavourful Greek basil right on your patio or balcony.
Growing Greek Basil in Pots: A Complete Guide
Greek basil, also known as dwarf basil, is a fantastic choice for container gardening due to its compact size and prolific growth. Unlike its larger cousins, such as Genovese basil, Greek basil forms a dense, bushy mound, making it ideal for pots and even window boxes. It has a slightly spicier and more intense flavour than other varieties, adding a unique zest to your culinary creations. Successfullygrowing Greek basil in pots requires understanding its needs and providing the right conditions for healthy growth. This guide will cover everything you need to know, from choosing the right pot and soil to watering, fertilizing, and harvesting.
Choosing the Right Pot for Your Greek Basil
The size of the pot is crucial for the healthy development of your Greek basil plant. Since Greek basil is a smaller variety, a pot that is at least 6-8 inches in diameter is generally sufficient. However, a larger pot, around 10-12 inches, will provide more room for the roots to expand, leading to a more robust and productive plant. The material of the pot is also a consideration. Terra cotta pots are porous and allow for good drainage, which is important for preventing root rot. Plastic pots, on the other hand, retain moisture better, which can be beneficial in hot, dry climates. Ensure that the pot you choose has drainage holes to prevent waterlogging. Consider these factors whenchoosing the right pot for growing Greek basil:
- Size: 6-12 inches in diameter.
- Material: Terra cotta or plastic.
- Drainage: Must have drainage holes.
Don't underestimate the importance of drainage. Basil doesn't like to sit in soggy soil, so proper drainage is vital to avoid root rot. You can even add a layer of gravel or broken pottery shards at the bottom of the pot to improve drainage further.
Selecting the Best Soil for Container Grown Greek Basil
Greek basil thrives in well-draining, nutrient-rich soil. A good potting mix is essential for providing the necessary support and nutrients for healthy growth. Avoid using garden soil, as it can be too heavy and may contain pests or diseases. Look for a commercial potting mix that is specifically formulated for containers. These mixes typically contain a blend of peat moss, vermiculite, and perlite, which provide excellent drainage and aeration. You can also amend the potting mix with compost or aged manure to boost its nutrient content. The ideal p H level for basil is between 6.0 and
7.5. Consider these factors whenselecting the best soil for container grown Greek basil:
- Type: Commercial potting mix.
- Ingredients: Peat moss, vermiculite, perlite.
- Nutrients: Enriched with compost or aged manure.
- p H: 6.0-7.5.
A slightly acidic to neutral soil is perfect for Greek basil. You can test your soil's p H using a home test kit and amend it accordingly with lime to raise the p H or sulfur to lower it.
Planting Your Greek Basil Seedlings or Cuttings
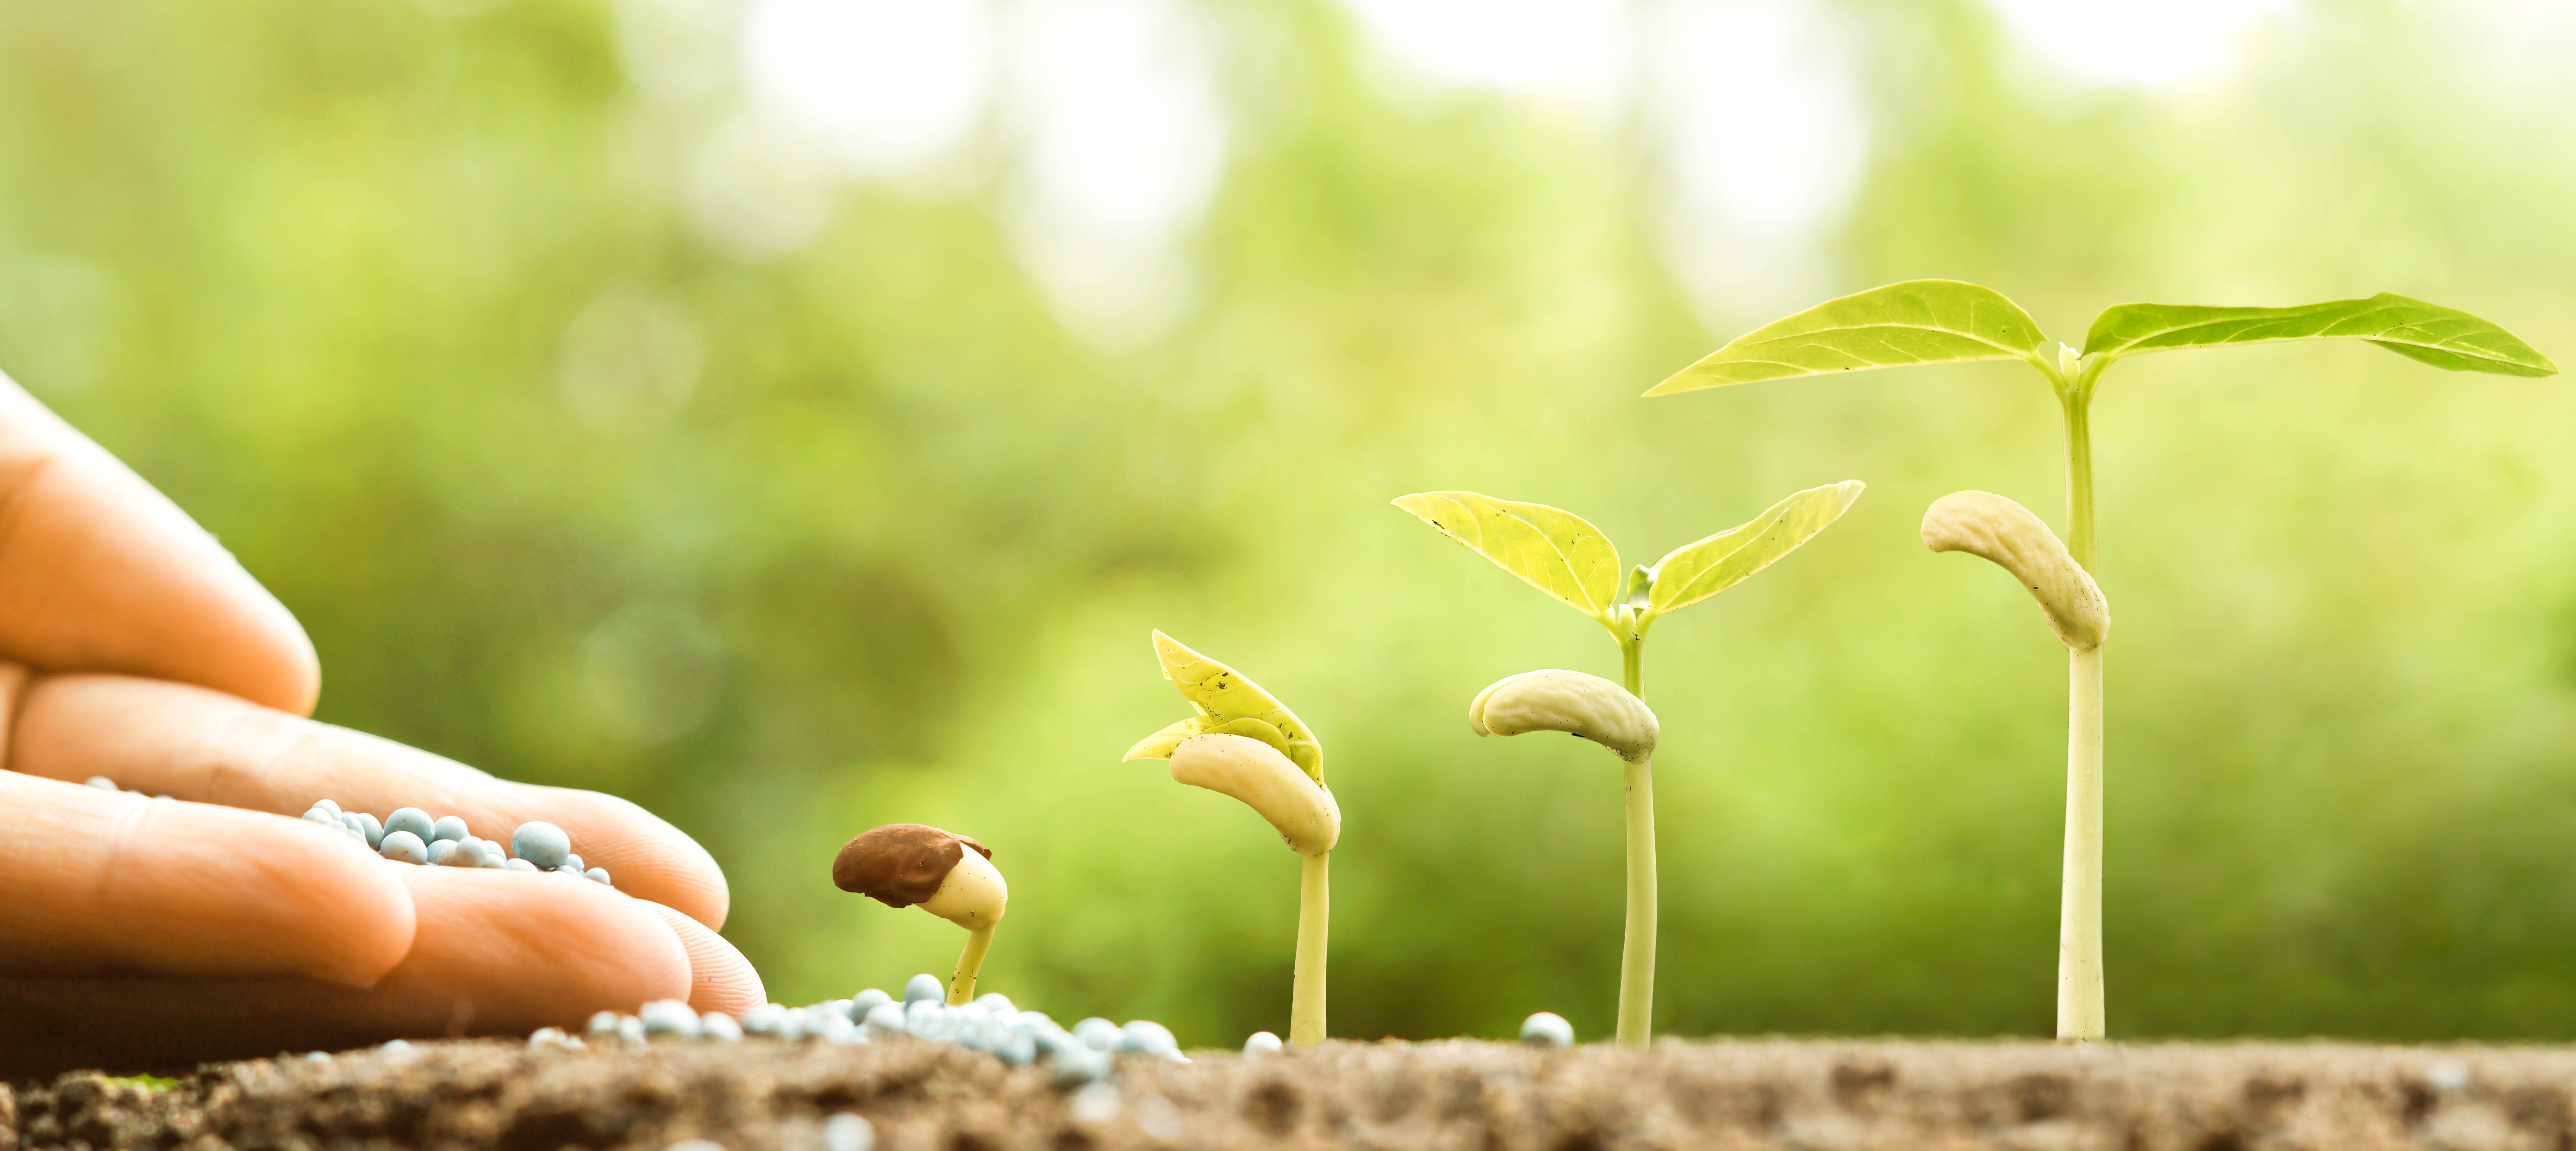
You have two main options for starting your Greek basil plants: from seeds or from cuttings. Starting from seeds requires a bit more patience, as it takes longer for the plants to mature. However, it's a cost-effective way to grow a large number of plants. Sow the seeds indoors 6-8 weeks before the last expected frost. Keep the soil moist and warm (around 70-75°F) until the seeds germinate. Once the seedlings have developed a few sets of true leaves, you can transplant them into your pots. Alternatively, you can propagate Greek basil from cuttings. Simply snip off a 4-6 inch stem from a healthy plant, remove the lower leaves, and place the cutting in water. Roots should begin to form within a week or two. Once the roots are about an inch long, you can transplant the cutting into your pot. Ensure you choose the ideal method whenplanting your Greek basil seedlings or cuttings.
- Starting from Seeds: Sow indoors 6-8 weeks before the last frost.
- Starting from Cuttings: Take 4-6 inch stem cuttings, remove lower leaves, and root in water.
- Transplanting: Gently transplant seedlings or rooted cuttings into your pot.
When transplanting, be gentle with the delicate roots. Water thoroughly after planting and keep the soil consistently moist until the plants are established.
Caring for Your Potted Greek Basil Plant
Once your Greek basil is planted, proper care is essential for ensuring healthy growth and abundant harvests. This includes providing adequate sunlight, water, and nutrients. Greek basil thrives in full sun, requiring at least 6-8 hours of direct sunlight per day. Water regularly, especially during hot, dry weather, but avoid overwatering, as this can lead to root rot. Fertilize every 2-3 weeks with a balanced liquid fertilizer. Prune regularly to encourage bushier growth and prevent the plant from flowering. If you want to get the most out ofcaring for your potted Greek basil plant, follow the instructions below:
- Sunlight: At least 6-8 hours of direct sunlight per day.
- Watering: Water regularly, but avoid overwatering.
- Fertilizing: Every 2-3 weeks with a balanced liquid fertilizer.
- Pruning: Regularly prune to encourage bushier growth.
Pay attention to the leaves of your basil plant. Yellowing leaves can indicate overwatering or nutrient deficiencies, while brown spots may be a sign of fungal disease. Adjust your watering and fertilizing accordingly, and consider using a fungicide if necessary.
Watering and Fertilizing Greek Basil in Pots
Proper watering is crucial for the health of your Greek basil plants. The goal is to keep the soil consistently moist but not waterlogged. Check the soil moisture by sticking your finger about an inch deep into the soil. If it feels dry, it's time to water. Water deeply until the water drains out of the drainage holes. Avoid watering the leaves, as this can promote fungal diseases. Fertilizing is also important for providing the nutrients that your basil plants need to thrive. Use a balanced liquid fertilizer, such as a 10-10-10 or 20-20-20 formula, diluted to half strength. Fertilize every 2-3 weeks during the growing season. Remember to be cautious on yourwatering and fertilizing for Greek basil in pots:
- Watering Frequency: Check soil moisture regularly and water when dry.
- Watering Technique: Water deeply, avoiding the leaves.
- Fertilizer Type: Balanced liquid fertilizer (10-10-10 or 20-20-20).
- Fertilizing Frequency: Every 2-3 weeks during the growing season.
Over-fertilizing can be just as harmful as under-fertilizing, so be sure to follow the instructions on the fertilizer label carefully. If you notice that your basil plants are growing excessively tall and spindly with few leaves, it may be a sign of over-fertilization.
Harvesting Your Greek Basil
Harvesting your Greek basil regularly is key to promoting bushier growth and preventing the plant from flowering. Once the plant is about 6-8 inches tall, you can start harvesting the leaves. Pinch or snip off the top sets of leaves, just above a leaf node. This will encourage the plant to branch out and produce more leaves. Avoid harvesting more than one-third of the plant at a time, as this can stress the plant. You can harvest Greek basil throughout the growing season, from spring to fall. Harvesting is key toget the most out of your Greek Basil:
- Harvesting Time: Once the plant is 6-8 inches tall.
- Harvesting Technique: Pinch or snip off the top sets of leaves above a leaf node.
- Harvesting Frequency: Regularly throughout the growing season.
The best time to harvest basil is in the morning, after the dew has dried and before the heat of the day sets in. This is when the leaves are at their most flavorful. Freshly harvested Greek basil can be used immediately in your culinary creations, or it can be stored in the refrigerator for a few days. You can also dry or freeze the leaves for longer-term storage.
Common Problems and Solutions When Growing Greek Basil in Pots
While growing Greek basil in pots is generally straightforward, you may encounter some common problems along the way. These can include pests, diseases, and nutrient deficiencies. Aphids, spider mites, and whiteflies are common pests that can infest basil plants. These pests can be controlled with insecticidal soap or neem oil. Fungal diseases, such as powdery mildew and downy mildew, can also affect basil plants. These diseases can be prevented by providing good air circulation and avoiding overwatering. Nutrient deficiencies can manifest as yellowing or stunted growth. These can be corrected by fertilizing with a balanced liquid fertilizer. Here's a brief overview ofcommon problems and solutions when growing Greek basil in pots:
- Pests: Aphids, spider mites, whiteflies.
- Solution: Insecticidal soap or neem oil.
- Diseases: Powdery mildew, downy mildew.
- Solution: Good air circulation, avoid overwatering, fungicide.
- Nutrient Deficiencies: Yellowing or stunted growth.
- Solution: Fertilize with a balanced liquid fertilizer.
Regularly inspect your basil plants for signs of pests or diseases. Early detection is key to preventing these problems from becoming severe. With a little attention and care, you can keep your Greek basil plants healthy and productive throughout the growing season.
To keep your garden thriving, consider the importance of a reliable watering system. TheGarden Hose 75 FT with 10-Function Nozzle, featuring leak-proof metal connectors and a kink-free design, is an excellent choice for your outdoor watering needs. This 75 foot Garden Hose with 10-Function Nozzleoffers durability and versatility for a flourishing garden. Check it out here:https://amzn.to/3Yv E0Ba.