Picture this: you’re making a delicious pesto, but you're out of fresh basil! A quick trip to the grocery store solves the problem, but what if you could extend the life of that store-bought basil and create an endless supply? The good news is, with a little know-how, you absolutely can! Growing Basil From Store-Bought: A Complete Guide So, can you really grow basil from store bought bunches? Absolutely! It's a fantastic way to save money, reduce waste, and enjoy fresh basil whenever you need it. However, the success of growing basil from store bought depends on a few key factors. This article will walk you through the entire process, from selecting the right basil to harvesting your homegrown leaves. We'll cover everything you need to know to successfully propagate basil from your grocery store haul. Selecting the Right Store-Bought Basil for Propagation Not all store-bought basil is created equal when it comes to propagation. To increase your ...
Imagine the vibrant aroma of Thai basil filling your kitchen, ready to elevate your next stir-fry or summer roll. You don't need a sprawling garden or even a green thumb to enjoy this flavorful herb. With a simple cutting, you can easily propagate your own Thai basil plant and have a continuous supply for all your culinary adventures. Let's explore the easy method of propagating Thai basil from a cutting!
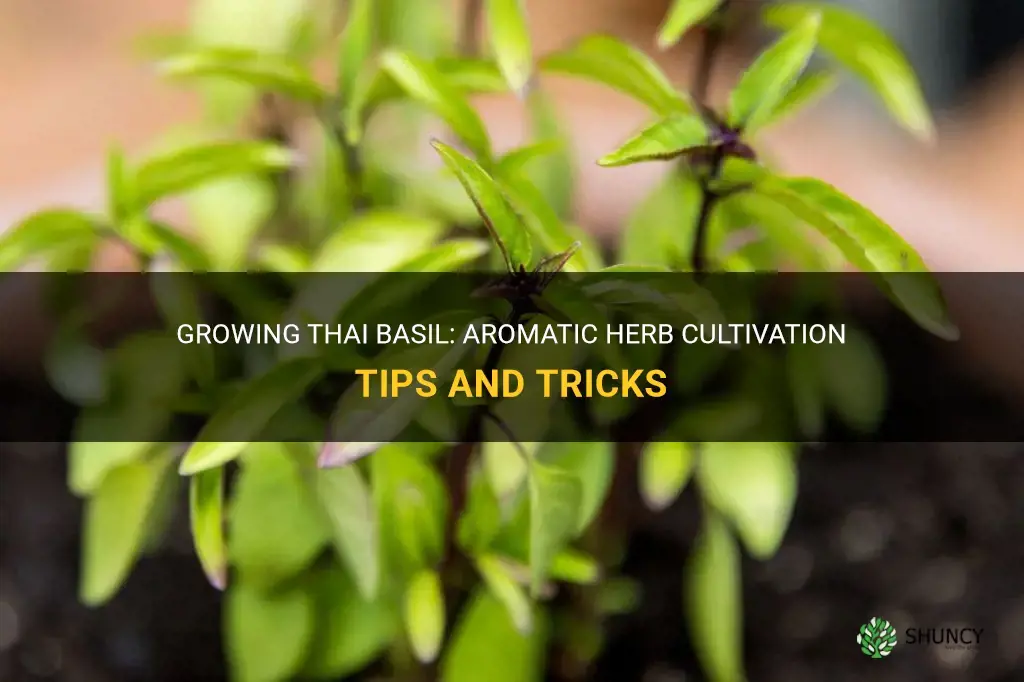
Growing Thai Basil From Cuttings: A Beginner's Guide
Thai basil, with its distinctive anise-licorice flavor, is a staple in Southeast Asian cuisine. Fortunately, it's incredibly easy to propagate, making it a fantastic plant for beginners and experienced gardeners alike. Growing Thai basil from cuttings is a quick and effective way to expand your herb garden without spending money on new plants. It also allows you to clone your favorite Thai basil plants, ensuring you always have access to their specific flavor profile.
Why Choose Cuttings Over Seeds?
While you can certainly grow Thai basil from seeds, there are several advantages to using cuttings:
- Speed: Cuttings root much faster than seeds germinate, allowing you to harvest sooner.
- Cloning: Cuttings produce plants that are genetically identical to the parent plant. This means you can replicate the exact flavor and growth habits you love.
- Simplicity: Taking cuttings is a straightforward process, requiring minimal equipment and expertise.
- Availability: If you already have a Thai basil plant, cuttings are a free and readily available resource.
Growing from cuttings will help you avoid the uncertainty of seed germination rates and unpredictable traits. You know exactly what you're getting, ensuring a consistent and high-quality harvest. Also, think about the time you'll save! With the use of stem cuttings, you could be well on your way to having mature plants sooner compared to the traditional method of germinating from seeds.
Selecting the Right Cutting for Thai Basil Propagation
The success of growing Thai basil from a cutting largely depends on the quality of the cutting itself. Here's what to look for:
- Healthy Stems: Choose stems that are vibrant green, healthy, and free from pests or diseases. Avoid stems that are yellowing, browning, or show signs of damage.
- Non-Flowering Stems: The best cuttings come from stems that haven't started to flower. Flowering stems tend to focus their energy on seed production rather than root development.
- Length: Select stems that are approximately 4-6 inches long. This provides enough stem for root development while remaining manageable.
- Leaf Nodes: Ensure the cutting has several leaf nodes (the points where leaves emerge from the stem). These nodes are where roots will sprout.
When taking a cutting, use a clean, sharp knife or pruning shears. Make a clean cut just below a leaf node. This minimizes damage to the stem and promotes faster healing and root growth. Dull tools can crush the stem, increasing the risk of infection and hindering root development. To ensure that you're taking the best cuttings, observe your existing Thai basil plant closely. It's much easier to propagate Thai basil from stem cuttings if you have a healthy mother plant. This process allows you to maintain the specific characteristics of the parent plant, such as leaf size, aroma, and growth habit.
The Step-by-Step Guide to Growing Thai Basil From Cuttings
Now that you've selected your cuttings, it's time to get them rooted! Here's a detailed guide:
- Prepare the Cuttings: Remove the leaves from the lower 1-2 inches of the stem. This prevents the leaves from rotting when submerged in water or soil.
- Rooting Medium: You have two main options:
- Water: Place the cuttings in a glass or jar filled with clean water. Ensure the water level covers the nodes where you removed the leaves. Change the water every 1-2 days to prevent bacterial growth.
- Soil: Plant the cuttings directly into a well-draining potting mix. Use a small pot (2-3 inches in diameter) for each cutting. Keep the soil consistently moist but not waterlogged.
- Provide Humidity: Cuttings thrive in humid environments. If rooting in water, simply keep the glass in a bright, warm location. If rooting in soil, you can increase humidity by covering the pot with a clear plastic bag or humidity dome. Remove the cover for a few hours each day to allow for air circulation and prevent mold growth.
- Light and Temperature: Place the cuttings in a location that receives bright, indirect sunlight. Avoid direct sunlight, which can scorch the leaves. Maintain a temperature between 65-75°F (18-24°C).
- Patience: Root development typically takes 1-3 weeks, depending on the method and environmental conditions. You'll know the cuttings have rooted when you see new growth or feel resistance when gently tugging on the stem.
During this phase, it's essential to monitor the cuttings regularly. If rooting in water, look for the emergence of small, white roots. If rooting in soil, check the soil moisture levels daily and water as needed. Avoid overwatering, which can lead to root rot. With a little care and attention, you'll soon have a thriving new Thai basil plant ready to be transplanted.
Transplanting Your Rooted Cuttings
Once the cuttings have developed a healthy root system, it's time to transplant them into larger pots or directly into your garden. Here's how:
- Choose the Right Pot or Location: Select a pot that is at least 6 inches in diameter and has drainage holes. If planting in the garden, choose a location that receives at least 6 hours of sunlight per day.
- Prepare the Soil: Thai basil prefers well-draining soil that is rich in organic matter. Amend your garden soil with compost or aged manure to improve its fertility and drainage.
- Gently Remove the Cutting: If rooting in water, carefully remove the cutting from the glass. If rooting in soil, gently loosen the soil around the cutting before lifting it out.
- Plant the Cutting: Dig a hole in the prepared soil that is slightly larger than the root ball. Place the cutting in the hole and gently backfill with soil. Water thoroughly.
- Mulch: Apply a layer of mulch around the base of the plant to help retain moisture and suppress weeds.
After transplanting, it's crucial to provide the plant with consistent care. Water regularly, especially during dry periods. Fertilize every 2-4 weeks with a balanced fertilizer to promote healthy growth. Pinch off the flower buds as they appear to encourage bushier growth and more flavorful leaves.
Caring for Your Thai Basil Plant
Once your Thai basil plant is established, proper care is essential to ensure a continuous harvest of flavorful leaves. Here are some key tips:
- Watering: Thai basil prefers consistently moist soil, but it doesn't like to be waterlogged. Water deeply when the top inch of soil feels dry to the touch. Avoid overhead watering, which can lead to fungal diseases.
- Fertilizing: Feed your Thai basil plant every 2-4 weeks with a balanced fertilizer. Alternatively, you can use organic fertilizers such as compost tea or fish emulsion.
- Sunlight: Thai basil thrives in full sun (at least 6 hours per day). However, it can tolerate partial shade, especially in hot climates.
- Pinching: Pinching off the tips of the stems encourages bushier growth and prevents the plant from flowering too early. Flowering reduces leaf production and can diminish the flavor of the leaves.
- Pest and Disease Control: Monitor your plant regularly for signs of pests or diseases. Common pests include aphids, spider mites, and whiteflies. Treat infestations with insecticidal soap or neem oil. Fungal diseases can be prevented by ensuring good air circulation and avoiding overhead watering.
By providing proper care, you can enjoy a bountiful harvest of Thai basil leaves throughout the growing season. Regular harvesting also encourages new growth, ensuring a continuous supply of this flavorful herb. Always choose a good garden hose to do your watering. Consider agarden hose 75 FT with 10-Function Nozzle, Leak-proof Metal Connector Water Hose, No Knots, Kink-Free, Lighter, Anti-Pets, Wear-Resistant, 3/4 GHT, Metal Hose for Garden, Yard, Outdoor. This 75-foot Garden water hoseis incredibly convenient for reaching all corners of your garden, and you can find it here:https://amzn.to/3Yv E0Bo.
Troubleshooting Common Issues When Growing Thai Basil From Cuttings
While propagating Thai basil from cuttings is generally straightforward, you may encounter some common issues. Here's how to troubleshoot them:
- Cuttings Not Rooting: This could be due to several factors, including poor cutting quality, insufficient humidity, or lack of light. Ensure you're using healthy, non-flowering stems, providing adequate humidity, and placing the cuttings in a bright location.
- Cuttings Rotting: This is usually caused by overwatering or poor air circulation. Ensure the rooting medium is well-draining and avoid overwatering. If rooting in water, change the water frequently to prevent bacterial growth.
- Yellowing Leaves: This could indicate nutrient deficiencies or overwatering. Fertilize regularly with a balanced fertilizer and ensure the soil is well-draining.
- Pest Infestations: Monitor your cuttings regularly for signs of pests. Treat infestations with insecticidal soap or neem oil.
By addressing these issues promptly, you can increase your chances of success and enjoy a thriving Thai basil plant.
Conclusion
Growing Thai basil from cuttings is a rewarding and cost-effective way to expand your herb garden. With a little patience and attention, you can easily propagate new plants from existing ones, ensuring a continuous supply of this flavorful herb. So, grab a cutting, follow these simple steps, and get ready to enjoy the delightful taste of homegrown Thai basil in all your favorite dishes!