Picture this: you’re making a delicious pesto, but you're out of fresh basil! A quick trip to the grocery store solves the problem, but what if you could extend the life of that store-bought basil and create an endless supply? The good news is, with a little know-how, you absolutely can! Growing Basil From Store-Bought: A Complete Guide So, can you really grow basil from store bought bunches? Absolutely! It's a fantastic way to save money, reduce waste, and enjoy fresh basil whenever you need it. However, the success of growing basil from store bought depends on a few key factors. This article will walk you through the entire process, from selecting the right basil to harvesting your homegrown leaves. We'll cover everything you need to know to successfully propagate basil from your grocery store haul. Selecting the Right Store-Bought Basil for Propagation Not all store-bought basil is created equal when it comes to propagation. To increase your ...
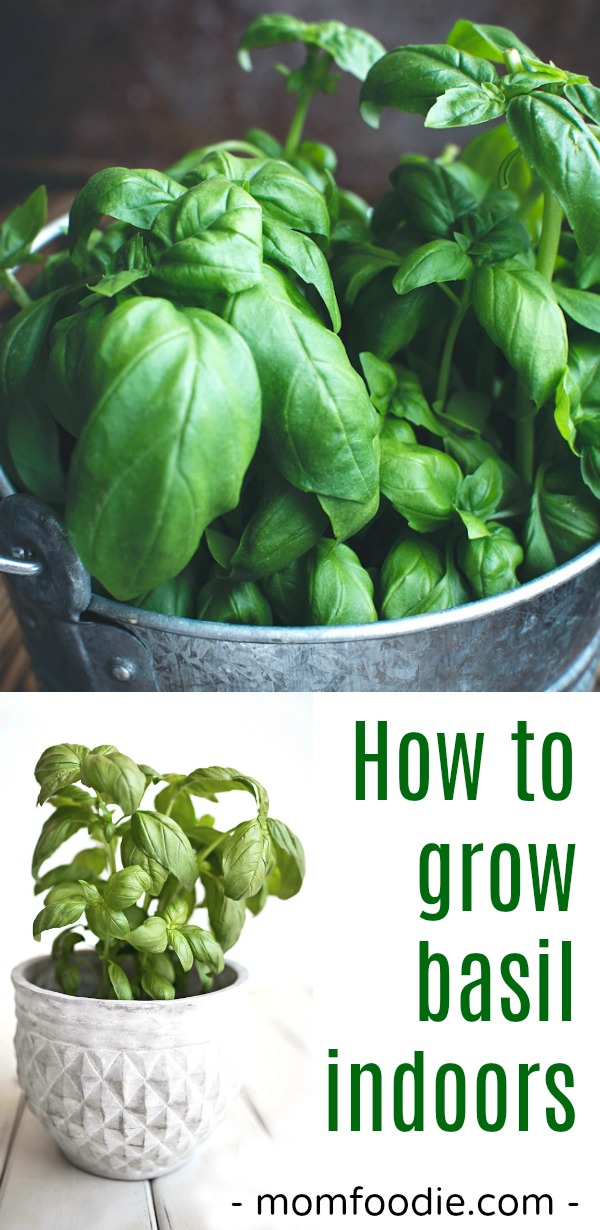
Imagine the aroma of fresh basil wafting through your home, even in the dead of winter. It's not just a dream – it's entirely achievable by growing basil seeds indoors. Whether you're a seasoned gardener or a complete beginner, starting basil indoors is a rewarding experience that brings the taste of summer to your kitchen year-round. This comprehensive guide will walk you through everything you need to know, from choosing the right seeds to harvesting your fragrant bounty.
Getting Started with Growing Basil Seeds Indoors
Growing basil from seed indoors is a fantastic way to ensure a continuous supply of this culinary staple. It's also a budget-friendly option compared to buying seedlings from a nursery. By understanding the basic needs of basil and following a few simple steps, you'll be enjoying fresh, homegrown basil in no time.
Why Grow Basil Seeds Indoors?
There are several compelling reasons to consider starting your basil indoors. First and foremost, it allows you to extend the growing season, providing fresh herbs long before the outdoor temperatures are warm enough. Basil is also quite sensitive to frost, so starting it indoors protects it from early spring chills. Here's a quick rundown of the benefits:
- Extended Growing Season: Enjoy basil even during colder months.
- Protection from Frost: Avoid damage from unexpected temperature drops.
- Control Over Environment: Optimize light, temperature, and humidity for optimal growth.
- Cost-Effective: Growing from seed is much cheaper than buying established plants.
- Variety Selection: Choose from a wider range of basil varieties than what's typically available at nurseries.
Furthermore, growing basil indoors gives you greater control over the growing environment. You can ensure optimal light exposure, temperature, and humidity levels, which can lead to healthier, more productive plants. The success of growing basil indoors is not just a matter of luck but a result of a controlled environment which helps to improve the plant’s overall well-being.
Choosing the Right Basil Seeds for Indoor Growing
Not all basil varieties are created equal when it comes to indoor growing. While most types will thrive indoors, some are better suited to container gardening than others. Here are a few popular choices:
- Sweet Basil: The most common type, ideal for pesto and Italian dishes.
- Thai Basil: Anise-flavored, perfect for Asian cuisine.
- Lemon Basil: Citrusy aroma and flavor, great in salads and teas.
- Genovese Basil: A classic Italian basil with large, flavorful leaves.
- Dwarf Basil (e.g., Spicy Globe): Compact variety that's perfect for small spaces.
Consider your culinary preferences and available space when selecting your seeds. Dwarf varieties are particularly well-suited for small indoor gardens. You should also consider the source of your seeds. Opt for reputable seed suppliers to ensure high germination rates and healthy plants. Organic seeds are a great choice if you want to avoid synthetic pesticides and fertilizers.
Materials Needed for Growing Basil Indoors
Before you start sowing, gather the necessary materials to ensure a smooth and successful growing experience. Here's a comprehensive list:
- Basil Seeds: Choose your preferred variety.
- Seed Starting Trays or Small Pots: Provide individual containers for each seed or small group of seeds.
- Seed Starting Mix: A light, well-draining soil mix specifically formulated for seedlings.
- Watering Can or Spray Bottle: For gentle watering.
- Grow Lights (Optional but Recommended): Provide sufficient light, especially during winter months.
- Heat Mat (Optional): Helps to maintain optimal soil temperature for germination.
- Humidity Dome (Optional): Creates a humid environment that promotes germination.
- Small Pots (for transplanting): Larger pots for when seedlings outgrow their starting containers.
- Potting Mix: A nutrient-rich soil mix for mature plants.
Investing in high-quality seed starting mix is crucial. Avoid using garden soil, as it can be too heavy and may contain pests or diseases. Grow lights are particularly important if you don't have a sunny window. A heat mat can also significantly improve germination rates, especially in cooler climates.
The Step-by-Step Guide to Germinating Basil Seeds Indoors
Now that you have all the necessary materials, let's dive into the step-by-step process of germinating basil seeds indoors. Proper preparation and attention to detail are key to success.
Step 1: Sowing the Seeds
Start by moistening the seed starting mix. It should be damp but not soggy. Fill your seed starting trays or small pots with the moistened mix, leaving about half an inch of space at the top. Gently sprinkle 2-3 basil seeds on the surface of each cell or pot. Cover the seeds with a very thin layer of seed starting mix (about 1/4 inch). Lightly mist the surface with water using a spray bottle. This ensures that the seeds are in good contact with the soil and prevents them from being washed away.
Step 2: Providing Optimal Conditions for Germination
Basil seeds germinate best in warm, humid conditions. Place the seed starting trays or pots in a warm location, ideally between 70-80°F (21-27°C). A heat mat can be used to maintain consistent soil temperature. Cover the trays or pots with a humidity dome or plastic wrap to create a humid environment. This helps to prevent the soil from drying out and promotes germination. Place the trays or pots under grow lights or in a sunny window. Basil seeds need light to germinate, so ensure they receive at least 12-14 hours of light per day. The light should be bright but not too intense, as direct sunlight can scorch the delicate seedlings.
Step 3: Monitoring Moisture and Watering
Keep the soil consistently moist but not waterlogged. Check the moisture level daily and mist the surface with water whenever the soil feels dry to the touch. Be careful not to overwater, as this can lead to damping off, a fungal disease that can kill seedlings. Remove the humidity dome or plastic wrap for a few hours each day to allow for air circulation and prevent the buildup of excessive moisture. Once the seeds have germinated, you can gradually reduce the humidity by opening the dome or plastic wrap further each day. A good garden hose with a multi-function nozzle, similar to this 75 FT garden hose with a 10-function nozzle, can be very handy for gently watering seedlings or later on when you transplant them to larger containers. The leak-proof metal connector and kink-free design can make watering a breeze.
Step 4: Thinning Seedlings
Once the seedlings have emerged and developed their first true leaves (the second set of leaves), it's time to thin them. Thinning involves removing some of the seedlings to provide more space and resources for the remaining ones. Choose the strongest, healthiest-looking seedling in each cell or pot and gently snip off the others at soil level using scissors or small shears. Avoid pulling the seedlings out, as this can disturb the roots of the remaining plant. Thinning ensures that the remaining seedlings have enough room to grow and develop strong root systems. It also prevents overcrowding, which can lead to disease and stunted growth.
Caring for Basil Seedlings Indoors
After germination, the focus shifts to providing the right environment for healthy seedling growth. Proper lighting, watering, and fertilization are essential.
Lighting for Indoor Basil Seedlings
Basil seedlings need plenty of light to thrive. If you're using grow lights, position them a few inches above the seedlings. Adjust the height as the seedlings grow to prevent them from getting too close to the light. If you're using a sunny window, rotate the trays or pots regularly to ensure that all sides of the plants receive equal light exposure. Insufficient light can lead to leggy, weak seedlings. Leggy seedlings have long, spindly stems and few leaves. They are more susceptible to disease and less likely to produce a good harvest. Aim for at least 12-14 hours of light per day.
Watering and Fertilizing
Water the seedlings when the top inch of soil feels dry to the touch. Avoid overwatering, as this can lead to root rot. Water deeply, allowing the excess water to drain out of the bottom of the pots or trays. Fertilize the seedlings every 2-3 weeks with a diluted liquid fertilizer specifically formulated for herbs or seedlings. Follow the instructions on the fertilizer label and avoid over-fertilizing, as this can burn the roots. A balanced fertilizer with equal amounts of nitrogen, phosphorus, and potassium is a good choice. Organic fertilizers are also available and can be a good option for those who want to avoid synthetic chemicals.
Transplanting Basil Seedlings
Once the seedlings have developed several sets of true leaves and are about 4-6 inches tall, it's time to transplant them into larger pots. Choose pots that are at least 6 inches in diameter and fill them with a high-quality potting mix. Gently remove the seedlings from their seed starting trays or pots, being careful not to damage the roots. Plant each seedling in its own pot, burying the stem up to the first set of leaves. Water the seedlings thoroughly after transplanting and place them in a sunny location or under grow lights. After transplanting, monitor the seedlings closely for signs of stress. If they wilt or droop, provide them with extra humidity and shade for a few days. Once they have recovered, gradually acclimate them to their new environment.
Ongoing Care for Indoor Basil Plants
Maintaining healthy basil plants indoors requires consistent care and attention. Regular pruning, pest control, and proper environmental conditions are key.
Pruning Basil Plants
Pruning is essential for encouraging bushy growth and preventing basil plants from becoming leggy. Pinch off the top sets of leaves regularly, just above a leaf node (the point where leaves emerge from the stem). This will encourage the plant to produce more side shoots, resulting in a fuller, more productive plant. Also, remove any flowers that appear on the plant. Basil plants produce flowers when they are stressed or reaching the end of their life cycle. Removing the flowers will encourage the plant to focus its energy on producing leaves. You can use the harvested leaves and flowers for culinary purposes.
Pest and Disease Control
Indoor basil plants are generally less susceptible to pests and diseases than outdoor plants. However, they can still be affected by common problems such as aphids, spider mites, and whiteflies. Regularly inspect your plants for signs of infestation, such as small insects, webbing, or yellowing leaves. If you find pests, treat the plants with insecticidal soap or neem oil. These are both natural and effective options for controlling pests. Damping off is a common fungal disease that can affect seedlings. To prevent damping off, avoid overwatering and ensure good air circulation. If you notice signs of damping off, such as wilting or collapsing seedlings, remove the affected plants immediately and treat the remaining plants with a fungicide.
Creating the Right Environment
Basil plants thrive in warm, sunny environments with well-draining soil. Maintain a temperature of 65-80°F (18-27°C) and provide at least 6-8 hours of sunlight per day. If you don't have a sunny window, use grow lights to supplement the natural light. Water the plants when the top inch of soil feels dry to the touch and fertilize them every 2-3 weeks with a balanced liquid fertilizer. Proper air circulation is also important for preventing disease. Ensure that the plants are not overcrowded and provide adequate ventilation in the growing area. You can also use a fan to improve air circulation.
Harvesting and Using Your Homegrown Basil
The most rewarding part of growing basil is harvesting and enjoying your fresh herbs. Learn how to harvest properly to maximize your yield and flavor.
Harvesting Basil Leaves
You can start harvesting basil leaves as soon as the plant has reached a reasonable size, usually about 6-8 inches tall. To harvest, simply pinch off the top sets of leaves, as described in the pruning section. This will encourage the plant to produce more leaves. Avoid harvesting more than one-third of the plant at a time, as this can stress the plant and reduce its growth. Harvest basil leaves in the morning, after the dew has dried but before the sun is too hot. This is when the leaves are at their most flavorful. Store the harvested leaves in the refrigerator or use them fresh in your favorite recipes.
Using Fresh Basil
Fresh basil is a versatile herb that can be used in a wide variety of dishes. It's a staple in Italian cuisine, but it can also be used in Asian, Mediterranean, and other types of cooking. Some popular uses for fresh basil include:
- Pesto: A classic Italian sauce made with basil, pine nuts, garlic, Parmesan cheese, and olive oil.
- Caprese Salad: A simple salad made with fresh basil, mozzarella cheese, and tomatoes.
- Pizza: Basil is a popular topping for pizza.
- Pasta Sauces: Add basil to your favorite pasta sauces for a burst of flavor.
- Salads: Basil can be added to salads for a fresh, herbaceous flavor.
- Soups: Basil can be used to flavor soups, such as tomato soup or minestrone.
- Teas: Fresh basil leaves can be used to make a refreshing herbal tea.
Preserving Basil
If you have more basil than you can use fresh, you can preserve it for later use. There are several ways to preserve basil, including:
- Drying: Dry basil leaves in a dehydrator or oven.
- Freezing: Freeze basil leaves in ice cube trays filled with water or olive oil.
- Making Pesto: Freeze pesto in small containers or ice cube trays.
- Infusing Oil or Vinegar: Infuse olive oil or vinegar with basil leaves.
Preserving basil allows you to enjoy its flavor year-round. Experiment with different preservation methods to find the one that works best for you.
Conclusion
Growing basil seeds indoors is a rewarding experience that provides you with a continuous supply of fresh, flavorful herbs. By following the steps outlined in this guide, you can successfully germinate your seeds, care for your seedlings, and harvest your homegrown basil. With a little patience and attention, you'll be enjoying the taste of summer all year long. So, get started today and experience the joy of growing your own basil indoors!