Picture this: you’re making a delicious pesto, but you're out of fresh basil! A quick trip to the grocery store solves the problem, but what if you could extend the life of that store-bought basil and create an endless supply? The good news is, with a little know-how, you absolutely can! Growing Basil From Store-Bought: A Complete Guide So, can you really grow basil from store bought bunches? Absolutely! It's a fantastic way to save money, reduce waste, and enjoy fresh basil whenever you need it. However, the success of growing basil from store bought depends on a few key factors. This article will walk you through the entire process, from selecting the right basil to harvesting your homegrown leaves. We'll cover everything you need to know to successfully propagate basil from your grocery store haul. Selecting the Right Store-Bought Basil for Propagation Not all store-bought basil is created equal when it comes to propagation. To increase your ...
Imagine fresh, fragrant basil leaves ready to be picked right from your windowsill, no soil required! Sounds too good to be true? It's not! With the Kratky method, growing basil in a bottle is incredibly simple, even if you don't have a green thumb. This guide will walk you through everything you need to know to successfully grow basil using the Kratky hydroponic technique.
What is the Kratky Method and Why Grow Basil in a Bottle Using It?
The Kratky method is a passive hydroponic system, meaning it doesn't require pumps, electricity, or constant monitoring. It's named after Dr. Bernard Kratky from the University of Hawaii, who developed this simple and effective technique. The core principle involves suspending plant roots in a nutrient solution, leaving an air gap for the roots to breathe. As the plant absorbs the nutrient solution, the air gap increases, providing the necessary oxygen for healthy root development. This makes it incredibly low-maintenance, perfect for busy individuals or beginners exploring hydroponics. Let's see what factors are there which make growing basil using Kratky method so beneficial:
- Low Maintenance: Once set up, the system requires minimal intervention. You essentially let the plant grow until harvest time.
- Cost-Effective: You can often use recycled materials like plastic bottles, reducing start-up costs.
- Beginner-Friendly: It's a straightforward method with no complex equipment or technical knowledge required.
- Space-Saving: Bottle gardens are compact, ideal for apartments, balconies, or even a sunny windowsill.
- Year-Round Growing: You can grow basil indoors regardless of the season, ensuring a constant supply of fresh herbs.
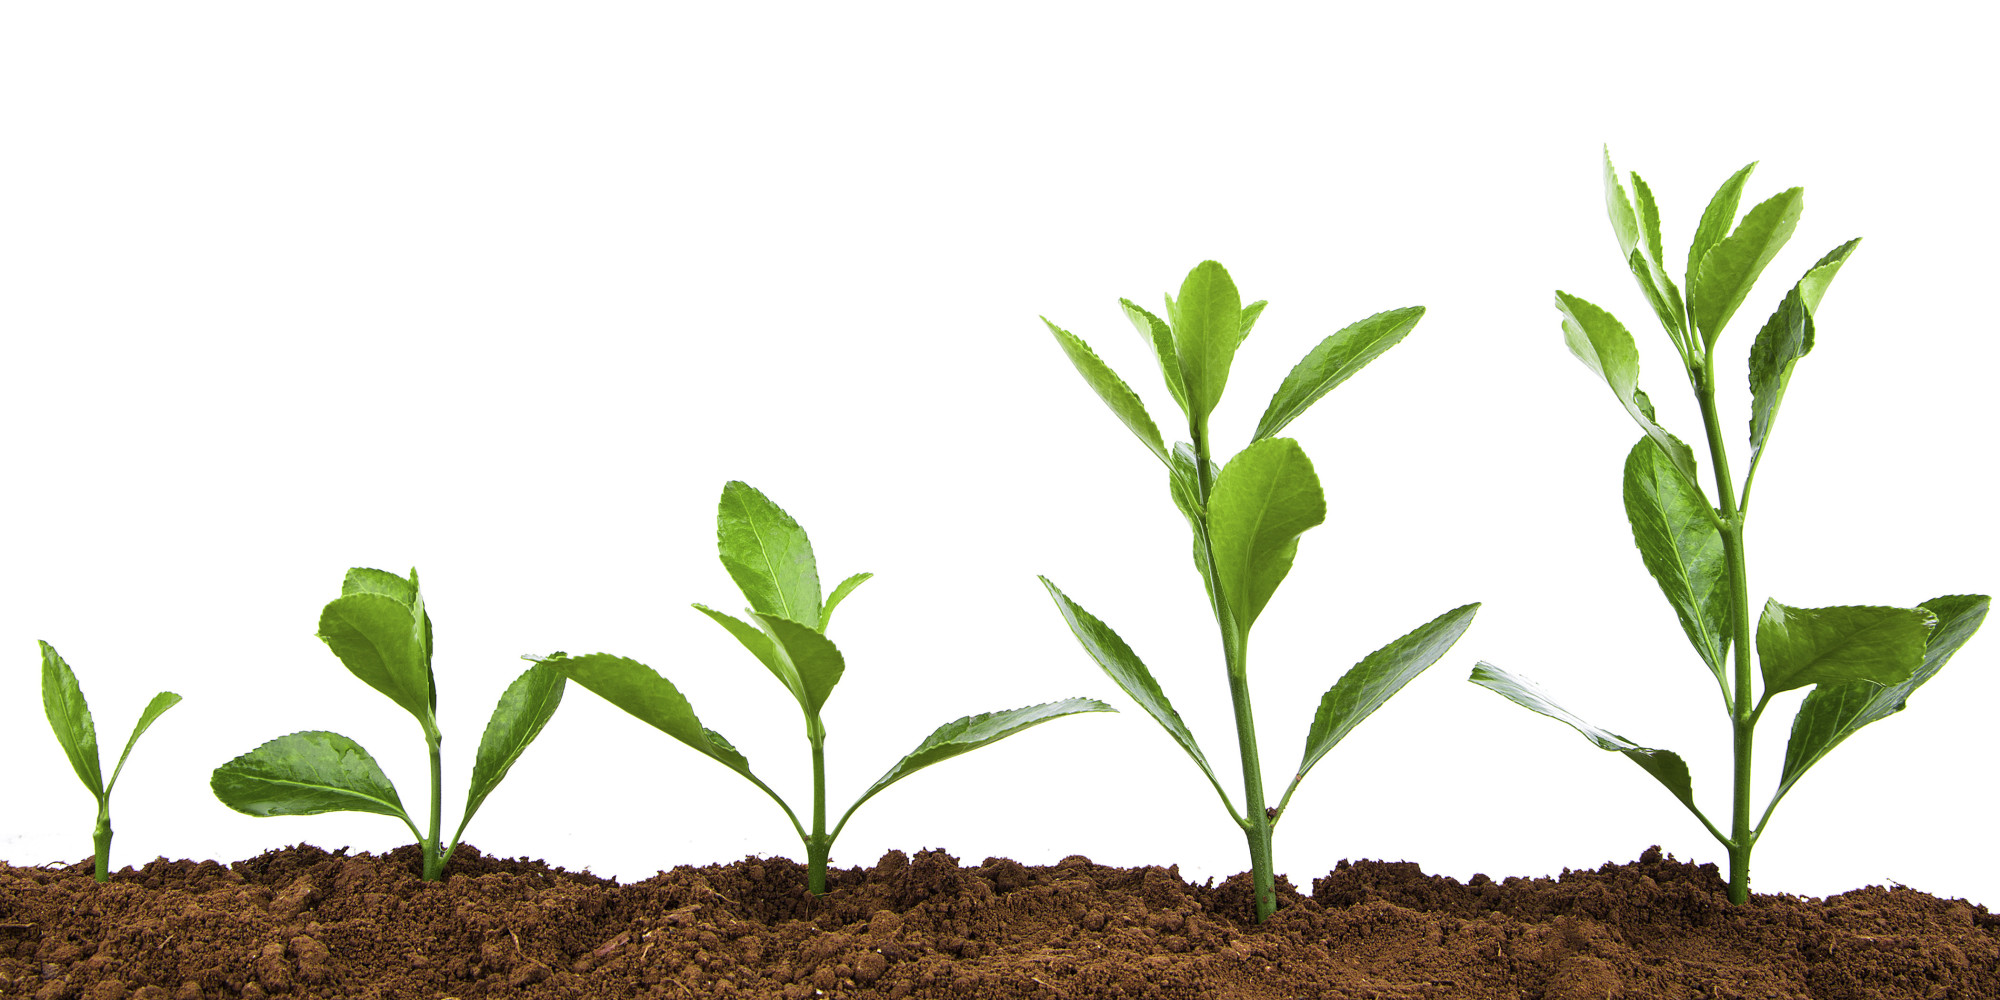
Basil thrives in the Kratky method due to its relatively quick growth cycle and adaptability to hydroponic environments. Plus, the controlled environment of a bottle can minimize pests and diseases compared to traditional soil gardening. The Kratky approach offers a great starting point if you want to grow basil in a bottle.
Materials Needed to Grow Basil Kratky Bottle
Gathering your supplies is the first step to successful basil growth. Here’s a comprehensive list:
- A Plastic Bottle: Opt for a dark-colored or opaque bottle (1-2 liter size is ideal) to prevent algae growth. Clear bottles can be used, but you'll need to cover the outside with paint or tape to block light.
- Basil Seeds or Seedlings: You can start from seed or purchase a small basil plant from a nursery.
- Net Pot or Small Container: This will hold the basil plant and allow the roots to access the nutrient solution. A small plastic cup with holes drilled in the bottom also works.
- Growing Medium: Use an inert medium like coco coir, perlite, or rockwool cubes to support the plant in the net pot.
- Hydroponic Nutrient Solution: Choose a balanced nutrient solution specifically formulated for leafy greens or herbs. Follow the instructions on the label for dilution.
- Water: Use p H-balanced water. Tap water can work if it is left out for 24 hours.
- Dark Tape or Paint: If using a clear bottle, you will need to cover the exterior to block the sunlight.
You might also find that a goodGarden Hose 75 FT with 10-Function Nozzle, Leak-proof Metal Connector Water Hose, No Knots, Kink-Free, Lighter, Anti-Pets, Wear-Resistant, 3/4 GHT, Metal Hose for Garden, Yard, Outdoor is useful for watering your outdoor plants, especially if you're transplanting basil seedlings into larger containers later on. You can find one here:
Step-by-Step Guide to Setting Up Your Basil Kratky Bottle
Follow these steps to create your own Kratky basil garden:
- Prepare the Bottle: Clean the plastic bottle thoroughly with soap and water. If using a clear bottle, paint the outside or cover it with dark tape, leaving only the top portion exposed to light.
- Prepare the Net Pot: Fill the net pot or container with your chosen growing medium (coco coir, perlite, or rockwool). If starting from seed, sow a few basil seeds directly into the medium. If using a seedling, gently remove it from its original container and place it in the net pot, filling around the roots with the growing medium.
- Mix the Nutrient Solution: Prepare the hydroponic nutrient solution according to the manufacturer's instructions. Typically, this involves diluting a concentrated nutrient solution with water.
- Assemble the System: Pour the nutrient solution into the bottle, filling it until it reaches just below the bottom of the net pot. The bottom of the net pot should be slightly submerged in the solution, allowing the growing medium to wick up the nutrients.
- Position the Plant: Carefully place the net pot containing the basil plant into the opening of the bottle. Ensure the plant is stable and the roots are in contact with the nutrient solution.
- Find the Right Spot: Place the bottle in a location that receives at least 6-8 hours of direct sunlight per day. A south-facing windowsill is often ideal. If you don't have enough natural light, you can supplement with a grow light.
Here is a table to illustrate this process:
| Step | Action | Description |
|---|---|---|
| 1 | Bottle Preparation | Clean the bottle and paint or tape if clear. |
| 2 | Net Pot Preparation | Fill the net pot with growing medium and sow seeds or transplant seedlings. |
| 3 | Nutrient Solution Mixing | Dilute hydroponic nutrients with water according to instructions. |
| 4 | System Assembly | Pour nutrient solution into bottle and place net pot inside. |
| 5 | Plant Positioning | Ensure roots are in contact with the solution and the plant is stable. |
| 6 | Location Selection | Place the bottle in a sunny location or supplement with a grow light. |
Caring for Your Kratky Basil Plant
While the Kratky method is low-maintenance, a little attention goes a long way. Here are some key care tips:
- Monitor the Water Level: Check the nutrient solution level periodically. As the plant grows, it will consume the solution. Ideally, you shouldn't need to add more solution until harvest, but if the level drops significantly, you can top it off with more diluted nutrient solution.
- Maintain Water Quality: While you shouldn't need to change the solution entirely, monitor it for clarity and signs of algae growth. If the solution becomes cloudy or algae appear, you can carefully remove the plant and net pot, clean the bottle, and replace the solution.
- Provide Adequate Light: Basil needs plenty of light to thrive. If you notice the plant becoming leggy (tall and spindly) or the leaves turning pale, it's likely not getting enough light. Move it to a sunnier location or supplement with a grow light.
- Maintain Optimal Temperature: Basil prefers temperatures between 65°F and 80°F (18°C and 27°C). Avoid placing the bottle in drafts or near sources of extreme heat or cold.
- Prune Regularly: Pinch off the top leaves of the basil plant regularly to encourage bushier growth. This also prevents the plant from flowering, which can reduce leaf production.
Troubleshooting Common Issues
Even in a well-maintained Kratky system, you might encounter some challenges. Here's how to address common problems:
- Yellowing Leaves: Could be caused by nutrient deficiencies, insufficient light, or overwatering (though less common in Kratky). Ensure your nutrient solution is properly balanced and the plant is receiving enough light.
- Leggy Growth: Indicates insufficient light. Move the plant to a sunnier location or use a grow light.
- Algae Growth: Usually due to light exposure. Ensure the bottle is properly covered with dark tape or paint. You can also add a small amount of hydrogen peroxide to the nutrient solution to inhibit algae growth.
- Root Rot: Though rare in Kratky systems with proper air gaps, root rot can occur if the roots are constantly submerged in the solution without adequate oxygen. Ensure there is a sufficient air gap between the bottom of the net pot and the nutrient solution.
Harvesting and Enjoying Your Kratky Basil
Harvesting basil is easy! Once the plant has reached a sufficient size (typically after a few weeks), you can begin harvesting leaves. Simply pinch off the top leaves or cut stems just above a leaf node. Regular harvesting encourages bushier growth and prolongs the plant's lifespan. You can use your fresh basil in countless culinary creations, from pesto and pasta sauces to salads and soups. Store freshly harvested basil in the refrigerator, wrapped in a damp paper towel, for up to a week.
Growing basil using the Kratky bottle method is a rewarding and accessible way to enjoy fresh herbs at home. With minimal effort and a few simple materials, you can create a thriving basil garden that provides a continuous supply of flavorful leaves. So, grab a bottle, some seeds, and get ready to experience the joy of growing your own food, hydroponically!