Picture this: you’re making a delicious pesto, but you're out of fresh basil! A quick trip to the grocery store solves the problem, but what if you could extend the life of that store-bought basil and create an endless supply? The good news is, with a little know-how, you absolutely can! Growing Basil From Store-Bought: A Complete Guide So, can you really grow basil from store bought bunches? Absolutely! It's a fantastic way to save money, reduce waste, and enjoy fresh basil whenever you need it. However, the success of growing basil from store bought depends on a few key factors. This article will walk you through the entire process, from selecting the right basil to harvesting your homegrown leaves. We'll cover everything you need to know to successfully propagate basil from your grocery store haul. Selecting the Right Store-Bought Basil for Propagation Not all store-bought basil is created equal when it comes to propagation. To increase your ...
Have you ever considered the tiny powerhouse of potential residing within those unassuming basil seeds? More than just a garnish, growing basil from seed is a rewarding journey from miniature speck to fragrant, flavorful foliage. It's easier than you might think, and the possibilities – from pesto to pizza toppings – are endless. Let's dive into the wonderful world of basil seeds and uncover the secrets to a thriving basil patch right in your own backyard!
Growing Basil from Seed: A Complete Guide
Basil, a beloved herb cherished for its aromatic leaves and culinary versatility, is surprisingly easy to cultivate from seed. Whether you're a seasoned gardener or a novice green thumb, understanding the nuances of growing basil from seed ensures a bountiful harvest and adds a touch of freshness to your home-cooked meals.
Why Grow Basil from Seed? The Advantages Unveiled
Choosing to grow basil from seed offers several advantages over purchasing seedlings. You have complete control over the variety, ensuring you get exactly the type of basil you desire. It's also significantly more cost-effective, especially if you plan to grow a large quantity. Perhaps most importantly, starting from seed allows you to witness the entire life cycle of the plant, a deeply satisfying experience for any gardener.
- Cost-effective: A packet of seeds is far cheaper than buying multiple established plants.
- Variety Selection: Access to a wider range of basil varieties that may not be available as seedlings.
- Control over Growing Conditions: Ability to tailor the growing environment to the basil's specific needs from day one.
- Personal Satisfaction: The joy of nurturing a plant from seed to harvest is unparalleled.
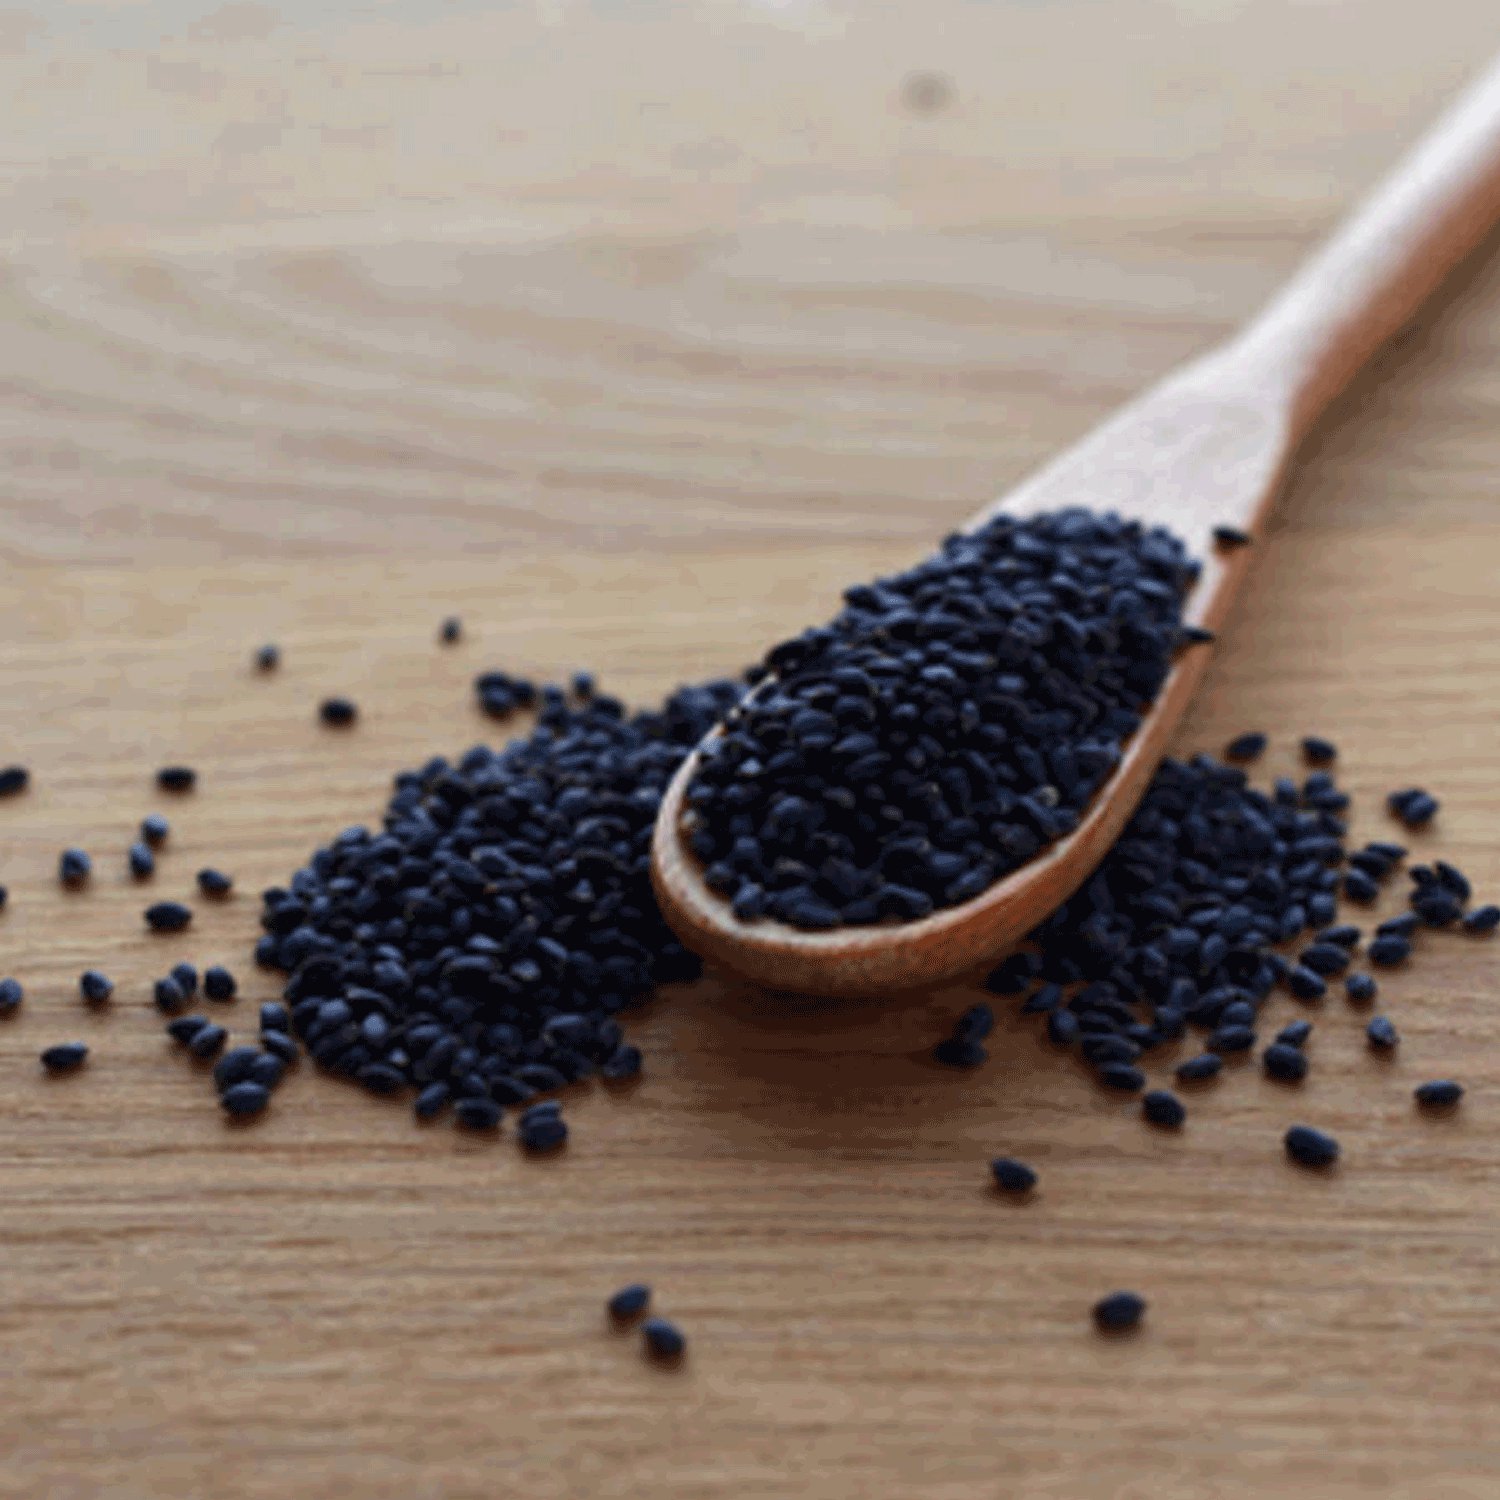
Choosing the Right Basil Seeds: Varieties to Explore
Basil isn't just basil. There's a whole world of flavors and appearances to explore! From the classic Genovese to the exotic Thai basil, each variety offers a unique culinary experience. Consider your culinary preferences and desired aesthetic when selecting your basil seeds.
Popular Basil Varieties and Their Uses
Here's a quick rundown of some popular basil varieties to get you started:
- Genovese Basil: The quintessential pesto basil, with large, fragrant leaves.
- Thai Basil: Anise-flavored leaves perfect for Southeast Asian cuisine.
- Lemon Basil: A citrusy twist, ideal for salads and seafood dishes.
- Purple Basil: Adds color and a slightly spicy flavor to your garden and dishes.
- Globe Basil: Compact and bushy, great for small spaces and garnishes.
When selecting your seeds, be sure to check the "days to maturity" on the seed packet. This will give you an idea of how long it will take for your basil plants to reach harvestable size. Also, consider purchasing seeds from reputable suppliers to ensure high germination rates and healthy plants.
Starting Basil Seeds Indoors: A Step-by-Step Guide
Starting basil seeds indoors gives them a head start, especially in regions with shorter growing seasons. This allows you to control the environment and protect the seedlings from harsh weather conditions. Here's a detailed guide to getting your basil seeds off to a strong start indoors.
Materials You'll Need
- Basil seeds
- Seed starting tray or small pots
- Seed starting mix (or a well-draining potting mix)
- Spray bottle
- Warm, sunny location or grow light
The Sowing Process
- Prepare the Seed Starting Mix: Moisten the seed starting mix with water until it's damp but not soggy.
- Sow the Seeds: Sprinkle the basil seeds evenly over the surface of the mix. Gently press them into the soil; basil seeds need light to germinate.
- Cover Lightly: Cover the seeds with a very thin layer of seed starting mix or vermiculite.
- Water Gently: Mist the surface with a spray bottle to avoid disturbing the seeds.
- Create a Humid Environment: Cover the seed starting tray with a plastic dome or plastic wrap to retain moisture.
- Provide Warmth and Light: Place the tray in a warm location (ideally 70-75°F) with bright, indirect light. A grow light can be used if natural light is insufficient.
- Maintain Moisture: Keep the soil consistently moist but not waterlogged. Mist as needed.
- Remove Cover After Germination: Once the seedlings emerge (typically within 5-10 days), remove the plastic cover to prevent fungal diseases.
Transplanting Basil Seedlings Outdoors: Giving Them Room to Grow
Once your basil seedlings have developed a few sets of true leaves (the second set of leaves that appear after the initial seed leaves), they are ready to be transplanted outdoors. Choose a location that receives at least 6-8 hours of sunlight per day and has well-draining soil.
Hardening Off the Seedlings
Before transplanting, it's essential to "harden off" the seedlings. This process gradually acclimates them to outdoor conditions, reducing the risk of shock. Over a period of 7-10 days, gradually expose the seedlings to longer periods of outdoor exposure, starting with just an hour or two in a sheltered location and gradually increasing the time each day.
Transplanting Steps
- Prepare the Soil: Amend the soil with compost or other organic matter to improve drainage and fertility.
- Dig Holes: Dig holes that are slightly larger than the root balls of the seedlings. Space the holes about 12-18 inches apart, depending on the variety of basil.
- Gently Remove Seedlings: Carefully remove the seedlings from their containers, taking care not to damage the roots.
- Place Seedlings in Holes: Place the seedlings in the holes and gently backfill with soil.
- Water Thoroughly: Water the newly transplanted seedlings thoroughly to help them establish their roots.
- Mulch: Apply a layer of mulch around the base of the plants to help retain moisture and suppress weeds.
Caring for Basil Plants: Watering, Fertilizing, and Pruning
Proper care is crucial for ensuring healthy, productive basil plants. This includes regular watering, fertilizing, and pruning. Consistent attention to these details will reward you with a continuous supply of fragrant leaves.
Watering
Basil prefers consistently moist soil, but avoid overwatering, which can lead to root rot. Water deeply when the top inch of soil feels dry to the touch. Water in the morning to allow the foliage to dry before evening, minimizing the risk of fungal diseases.
Fertilizing
Basil is a relatively heavy feeder. Fertilize every 2-3 weeks with a balanced liquid fertilizer or compost tea. Avoid over-fertilizing, as this can reduce the flavor of the leaves.
Pruning
Pruning is essential for encouraging bushy growth and preventing the plant from flowering too early. Pinch off the flower buds as soon as they appear. Regularly harvest the leaves to encourage new growth. Harvest from the top down, cutting just above a leaf node to encourage branching.
Troubleshooting Common Basil Problems: Pests and Diseases
While basil is generally easy to grow, it can be susceptible to certain pests and diseases. Being aware of these potential problems and knowing how to address them is crucial for maintaining healthy basil plants.
Common Pests
- Aphids: Small, sap-sucking insects that can cause stunted growth and distorted leaves. Control aphids with insecticidal soap or neem oil.
- Slugs and Snails: These pests can chew on the leaves, creating holes. Handpick them or use slug bait.
- Japanese Beetles: These beetles can skeletonize the leaves. Handpick them or use a row cover to protect the plants.
Common Diseases
- Downy Mildew: A fungal disease that causes yellowing and browning of the leaves. Improve air circulation and avoid overhead watering.
- Fusarium Wilt: A soilborne fungal disease that causes wilting and death of the plant. Choose disease-resistant varieties and practice crop rotation.
Harvesting and Storing Basil: Maximizing Freshness
The best time to harvest basil is in the morning, after the dew has dried but before the heat of the day. This is when the leaves are at their most flavorful. Harvest the leaves as needed, or cut entire stems a few inches above the ground.
Storing Fresh Basil
Fresh basil wilts quickly. To prolong its shelf life, store it in the refrigerator in one of the following ways:
- In a Glass of Water: Place the basil stems in a glass of water like cut flowers, and cover the leaves loosely with a plastic bag. Change the water every day.
- Wrapped in a Damp Paper Towel: Wrap the basil leaves in a damp paper towel and store them in a plastic bag in the refrigerator.
Preserving Basil for Later Use
If you have a large harvest, you can preserve basil for later use by drying, freezing, or making pesto.
- Drying: Hang the basil stems upside down in a cool, dry place until the leaves are completely dry. Crumble the dried leaves and store them in an airtight container.
- Freezing: Blanch the basil leaves in boiling water for a few seconds, then plunge them into ice water. Drain well and freeze the leaves in a single layer on a baking sheet. Once frozen, transfer them to a freezer bag.
- Pesto: Make pesto and freeze it in ice cube trays for easy portioning.
Growing basil from seed is a fulfilling endeavor that provides you with a fresh, flavorful herb for your culinary creations. By following these tips and techniques, you'll be well on your way to enjoying a bountiful basil harvest!
To ensure your basil plants get the water they need, consider using a high-quality garden hose. A durable, kink-free watering hose like theGarden Hose 75 FT with 10-Function Nozzle offers reliable performance and ease of use. It's perfect for watering your herbs, vegetables, and flowers. This75 foot gardening hose features a leak-proof metal connector and is designed to be lightweight and wear-resistant, making gardening a breeze. You can find it here: https://amzn.to/3Yv E0Bo.