Picture this: you’re making a delicious pesto, but you're out of fresh basil! A quick trip to the grocery store solves the problem, but what if you could extend the life of that store-bought basil and create an endless supply? The good news is, with a little know-how, you absolutely can! Growing Basil From Store-Bought: A Complete Guide So, can you really grow basil from store bought bunches? Absolutely! It's a fantastic way to save money, reduce waste, and enjoy fresh basil whenever you need it. However, the success of growing basil from store bought depends on a few key factors. This article will walk you through the entire process, from selecting the right basil to harvesting your homegrown leaves. We'll cover everything you need to know to successfully propagate basil from your grocery store haul. Selecting the Right Store-Bought Basil for Propagation Not all store-bought basil is created equal when it comes to propagation. To increase your ...
Basil, with its fragrant leaves and versatile culinary uses, is a staple in many gardens. But what if you want to expand your basil patch without heading back to the garden center? The good news is, propagating basil from cuttings is not only possible but also incredibly easy and rewarding. Let's dive into the process and unlock the secrets to growing a thriving basil garden from cuttings.
Can You Really Grow Basil From Cuttings?
Absolutely! Growing basil from cuttings is a simple and effective method ofvegetative propagation. This means you're essentially creating a clone of the parent plant, ensuring that the new plant has the exact same characteristics. Unlike growing from seed, which can sometimes result in variations, cuttings offer a predictable and faster route to harvesting fresh basil leaves.
Why Propagate Basil From Cuttings?
There are several compelling reasons to choose cuttings over seeds when expanding your basil collection:
- Speed: Cuttings root much faster than seeds germinate and develop into mature plants. You can often see roots forming within a week or two.
- Clones: As mentioned before, you get an exact copy of the parent plant. If you have a basil plant with exceptional flavor or disease resistance, propagating from cuttings ensures you maintain those qualities.
- Cost-effective: You only need one healthy basil plant to create many more. No need to keep buying seeds!
- Salvage: If your basil plant is starting to look a little tired or leggy, taking cuttings can give you a fresh start with new, vigorous plants.
- Space-saving: Propagating cuttings allows you to create new plants without dedicating a large area to seed starting.
Consider for your watering needs aGarden Hose 75 FT with 10-Function Nozzle, Leak-proof Metal Connector Water Hose, No Knots, Kink-Free, Lighter, Anti-Pets, Wear-Resistant, 3/4 GHT, Metal Hose for Garden, Yard, Outdoor, which can be incredibly helpful for easily watering your basil cuttings and established plants alike. This handy water hose offers convenience with its kink-free design and multiple spray settings, ensuring your basil gets just the right amount of hydration. You can find this versatile gardening tool here:https://amzn.to/3Yv E0Bo.
The Step-by-Step Guide to Growing Basil From Cuttings
Now, let's get down to the nitty-gritty of how to successfully propagate basil from cuttings. It's a surprisingly straightforward process, but following these steps will increase your chances of success.
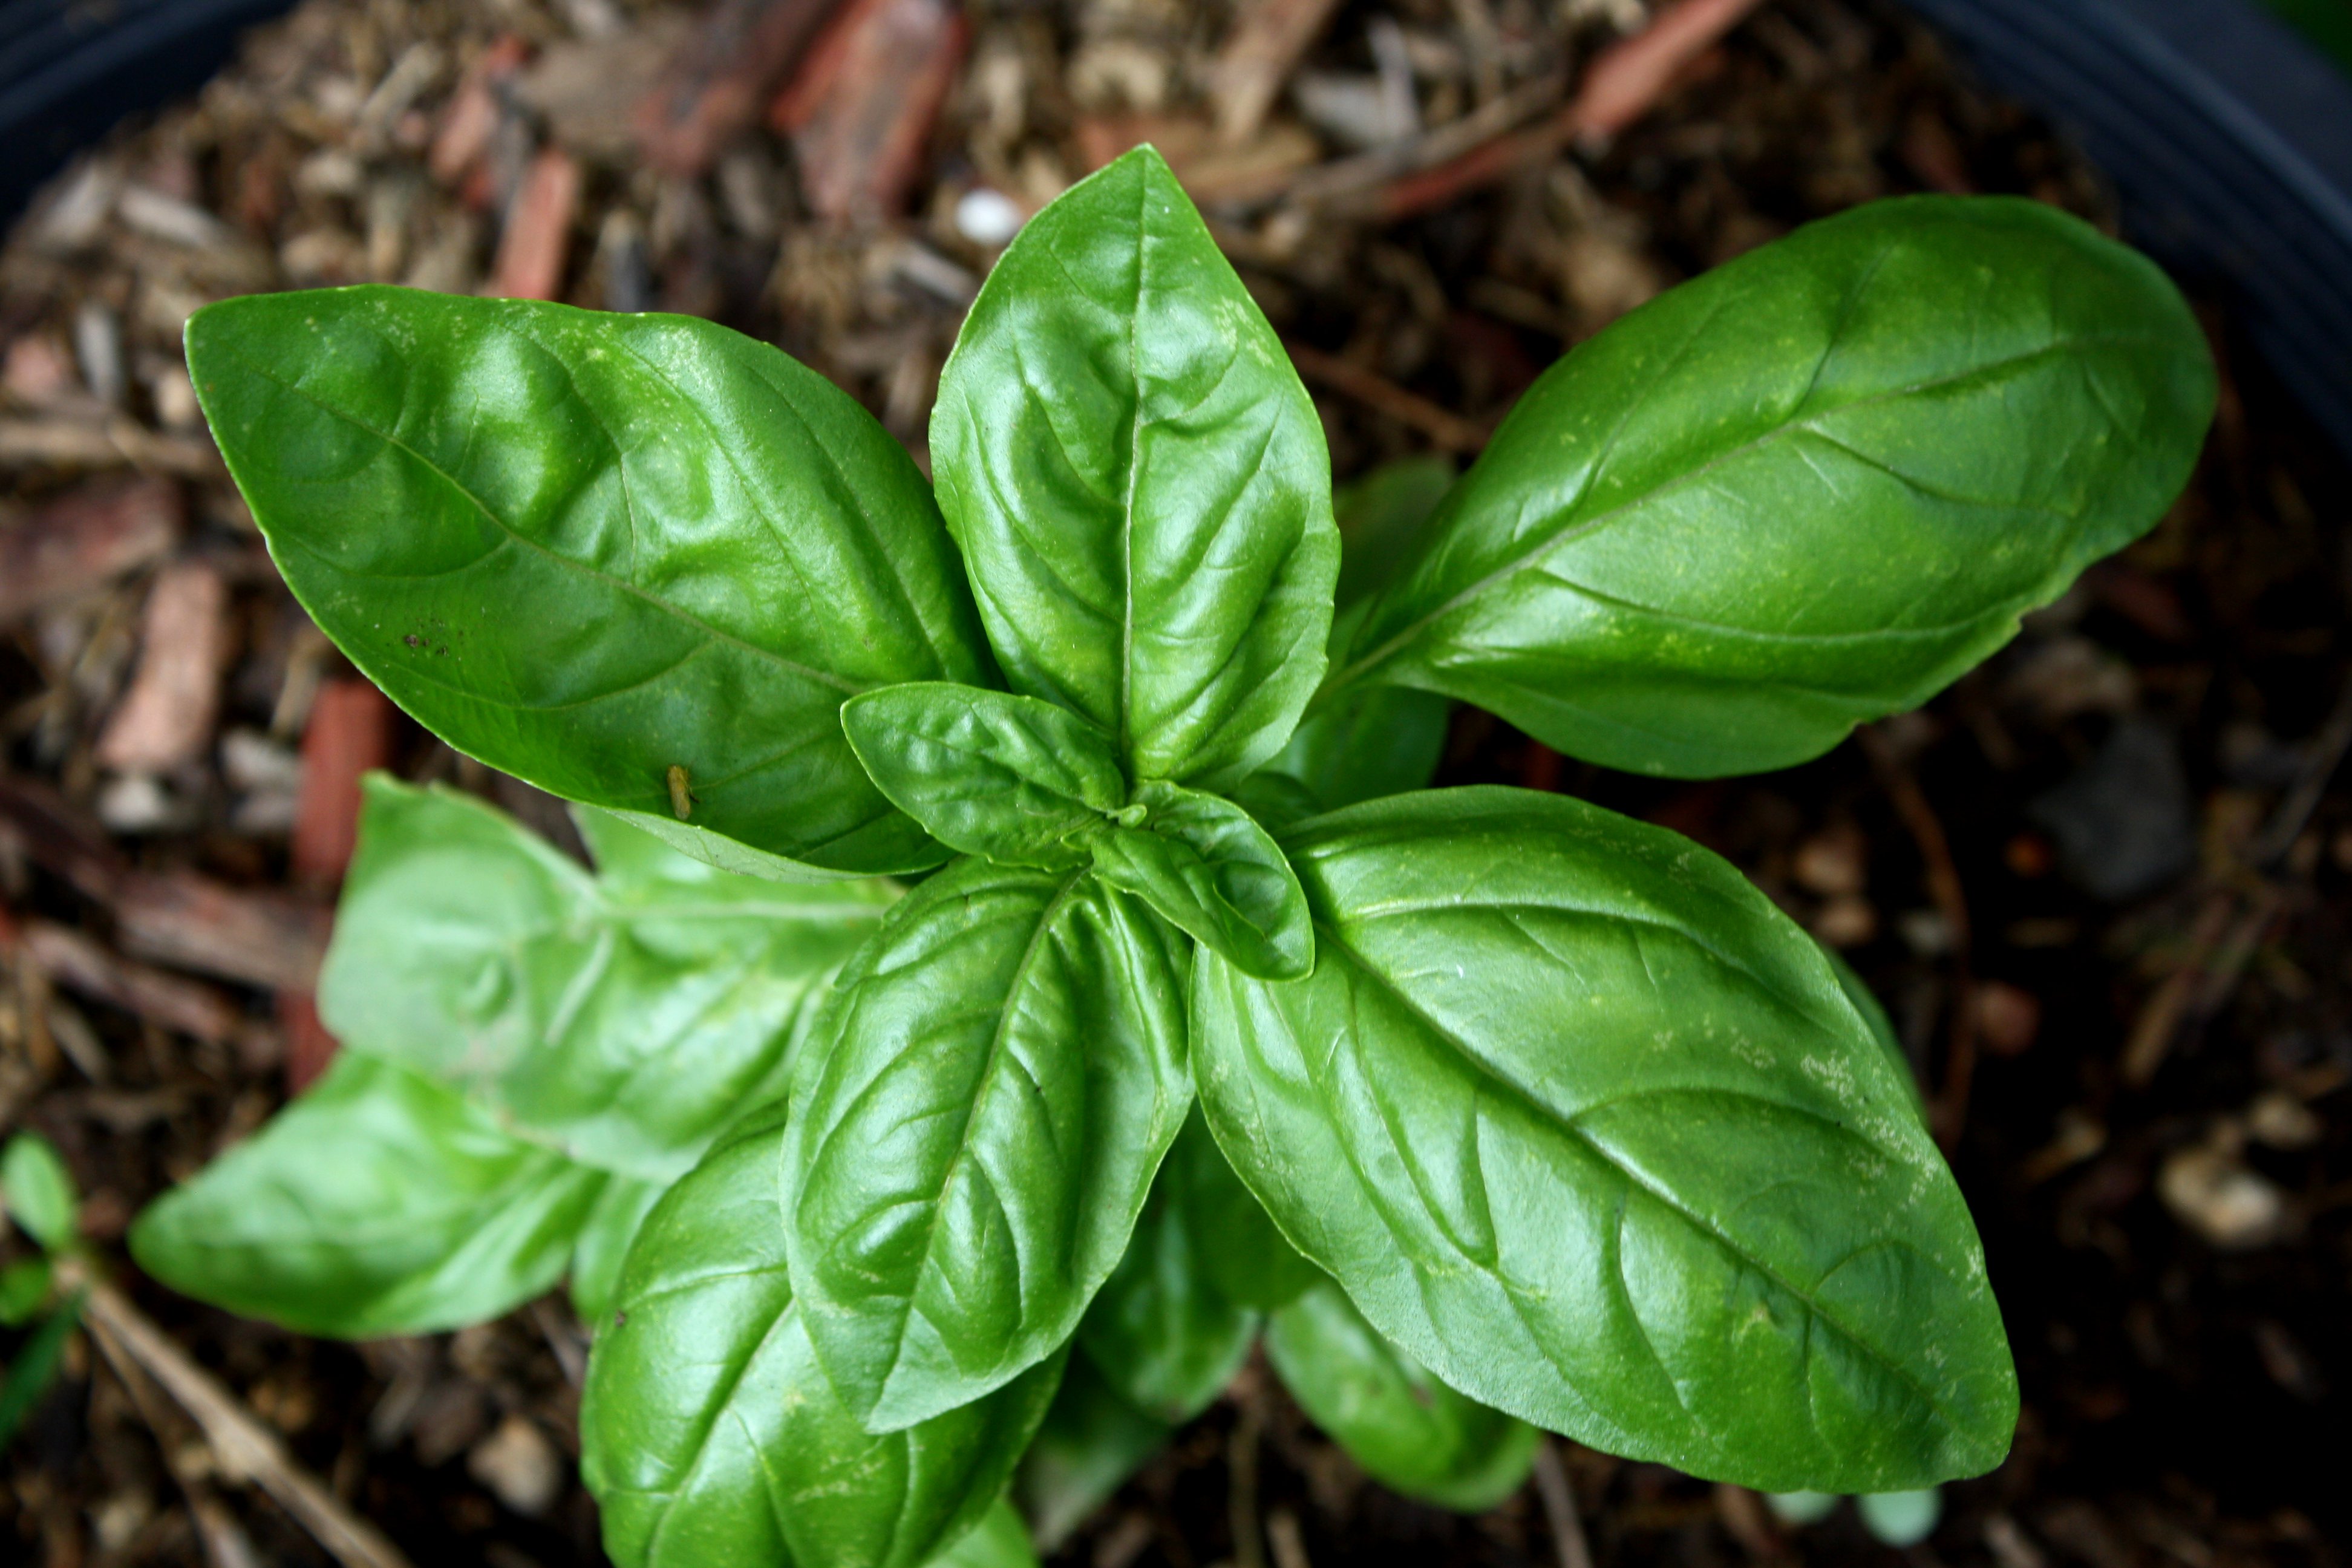
1. Selecting the Right Cuttings
The first step is crucial: choosing healthy and viable cuttings. Look for these characteristics:
- Stem Condition: Select stems that are green, healthy, and free from any signs of disease or pests. Avoid stems that are woody or brown.
- Length: Aim for cuttings that are about 4-6 inches (10-15 cm) long.
- Node Placement: Ensure the cutting has at least two or three nodes (the points where leaves emerge from the stem). Roots will typically grow from these nodes.
- Non-Flowering: Ideally, choose stems that are not actively flowering. Flowering can divert energy away from root development. If your plant is flowering, remove the flower buds from the cuttings.
2. Preparing the Cuttings
Once you've selected your cuttings, it's time to prepare them for rooting:
- Cut Below a Node: Using clean, sharp scissors or pruning shears, make a clean cut just below a node. This encourages root growth from that point.
- Remove Lower Leaves: Strip off the leaves from the bottom 1-2 inches of the cutting. This prevents the leaves from rotting when submerged in water and allows the plant to focus its energy on root development.
- Optional: Rooting Hormone: While not strictly necessary, dipping the cut end of the stem in rooting hormone can speed up the rooting process and improve your success rate. Rooting hormone contains auxins, which stimulate root growth.
3. Rooting the Cuttings
There are two primary methods for rooting basil cuttings: in water or directly in soil. Both are effective, but water propagation is often preferred because you can easily observe root development.
Water Propagation
- Choose a Container: Select a clean glass or jar with a narrow opening to support the cuttings.
- Fill with Water: Fill the container with fresh, clean water. Tap water is usually fine, but you can also use filtered water.
- Place Cuttings: Place the cuttings in the water, ensuring that the nodes where you removed the leaves are submerged. The leaves should remain above the water line.
- Location: Place the container in a bright, indirect light location. Avoid direct sunlight, which can scorch the cuttings.
- Change Water Regularly: Change the water every 1-2 days to prevent bacterial growth.
- Wait for Roots: Within a week or two, you should see roots beginning to emerge from the nodes.
Soil Propagation
- Prepare Potting Mix: Fill a small pot with a well-draining potting mix. You can also use a mixture of perlite and vermiculite for improved drainage.
- Make a Hole: Use a pencil or your finger to create a small hole in the potting mix.
- Insert Cutting: Gently insert the cutting into the hole, ensuring that the nodes where you removed the leaves are buried in the soil.
- Water Thoroughly: Water the potting mix thoroughly until water drains out of the bottom of the pot.
- Humidity Dome (Optional): To create a humid environment, you can cover the pot with a clear plastic bag or a humidity dome. This helps prevent the cuttings from drying out.
- Location: Place the pot in a bright, indirect light location.
- Keep Soil Moist: Keep the soil consistently moist, but not waterlogged.
4. Transplanting Rooted Cuttings
Once the cuttings have developed a healthy root system (usually around 1-2 inches long), it's time to transplant them into individual pots or directly into your garden.
- Prepare Pots or Garden Bed: Choose pots that are at least 4 inches in diameter or prepare a garden bed with well-draining soil. Amend the soil with compost or other organic matter to improve fertility.
- Carefully Remove Cuttings: Gently remove the rooted cuttings from the water or soil, being careful not to damage the delicate roots.
- Plant Cuttings: Plant the cuttings in the pots or garden bed, burying the roots completely.
- Water Thoroughly: Water the newly transplanted cuttings thoroughly.
- Provide Support (Optional): If the cuttings are tall and leggy, you may want to provide them with some support, such as a small stake.
Caring for Your Basil Cuttings
Once your basil cuttings are transplanted, proper care is essential for their continued growth and success.
- Light: Basil thrives in full sun, so provide your plants with at least 6-8 hours of sunlight per day. If growing indoors, use grow lights to supplement natural light.
- Watering: Water your basil plants regularly, keeping the soil consistently moist but not waterlogged. Allow the top inch of soil to dry out between waterings.
- Fertilizing: Feed your basil plants with a balanced fertilizer every 2-3 weeks during the growing season.
- Pinching: Pinch off the top sets of leaves regularly to encourage bushier growth and prevent the plants from flowering prematurely.
- Pest and Disease Control: Monitor your basil plants regularly for signs of pests or diseases. Common basil pests include aphids, spider mites, and whiteflies. Treat infestations promptly with insecticidal soap or neem oil. Basil is also susceptible to fungal diseases such as powdery mildew. Ensure good air circulation around the plants to prevent fungal problems.
Troubleshooting Common Issues When Propagating Basil From Cuttings
Even with careful attention, you might encounter some challenges when propagating basil from cuttings. Here are some common issues and how to address them:
- Cuttings Rotting: This is usually caused by bacterial or fungal growth in the water or soil. Ensure you're using clean water, changing it regularly, and not overwatering the cuttings.
- Cuttings Failing to Root: This could be due to several factors, including poor cutting selection, insufficient light, or lack of humidity. Make sure you're selecting healthy cuttings, providing adequate light, and creating a humid environment if necessary. Using rooting hormone can also improve your success rate.
- Slow Growth: Slow growth can be caused by a lack of nutrients, insufficient light, or poor soil drainage. Ensure you're fertilizing your plants regularly, providing adequate light, and using a well-draining potting mix.
Conclusion
Propagating basil from cuttings is a rewarding and cost-effective way to expand your herb garden. By following these simple steps and providing proper care, you can easily grow a thriving basil patch from just a few cuttings. So, grab your scissors, select those healthy stems, and get ready to enjoy an abundance of fresh, homegrown basil!