Picture this: you’re making a delicious pesto, but you're out of fresh basil! A quick trip to the grocery store solves the problem, but what if you could extend the life of that store-bought basil and create an endless supply? The good news is, with a little know-how, you absolutely can! Growing Basil From Store-Bought: A Complete Guide So, can you really grow basil from store bought bunches? Absolutely! It's a fantastic way to save money, reduce waste, and enjoy fresh basil whenever you need it. However, the success of growing basil from store bought depends on a few key factors. This article will walk you through the entire process, from selecting the right basil to harvesting your homegrown leaves. We'll cover everything you need to know to successfully propagate basil from your grocery store haul. Selecting the Right Store-Bought Basil for Propagation Not all store-bought basil is created equal when it comes to propagation. To increase your ...
Imagine the vibrant aroma of Thai basil filling your kitchen, ready to elevate your next stir-fry or summer roll. What if I told you that you could easily cultivate this culinary gem right in your own home, and all it takes is a trip to the grocery store? Yes, you can grow Thai basil from grocery store cuttings, and it's easier than you might think!
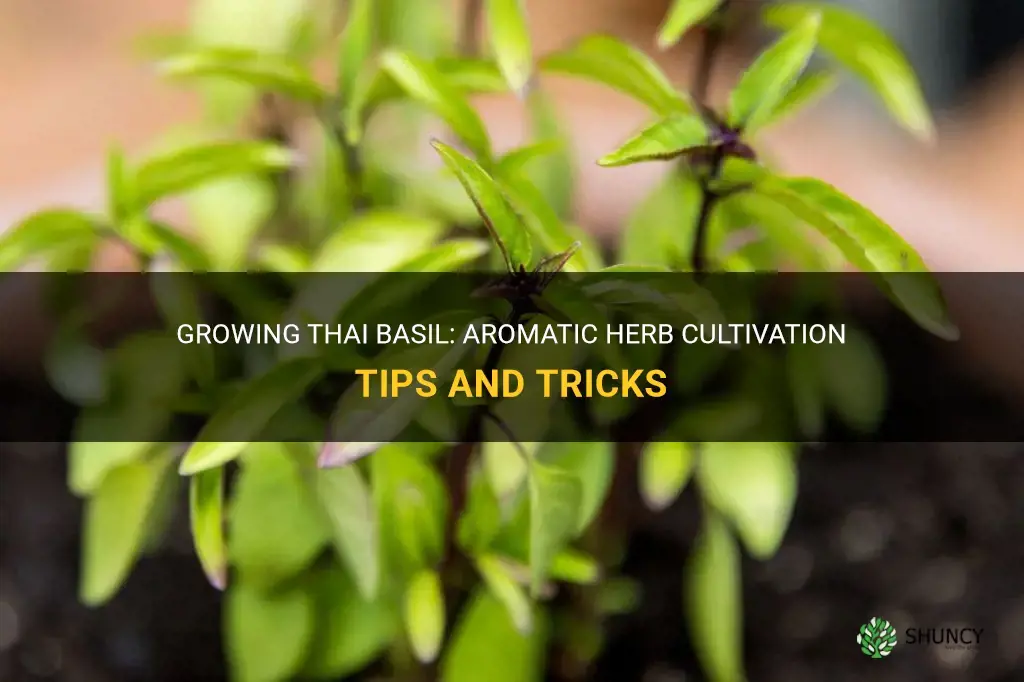
Growing Thai Basil From Grocery Store: A Step-by-Step Guide
This guide will walk you through the simple process of propagating Thai basil from cuttings sourced directly from your local grocery store. We'll cover everything from selecting the right stems to ensuring a thriving, fragrant plant. Let's get started on this flavorful adventure!
Choosing the Right Thai Basil Stems
The foundation of successful propagation lies in selecting healthy, viable stems. Not all Thai basil bunches at the grocery store are created equal. You need to be discerning to increase your chances of rooting success.
Selecting Healthy Stems: What to Look For
When choosing your Thai basil stems, look for the following characteristics:
Vibrancy: Opt for stems that are a deep, rich green. Avoid any that appear wilted, yellowed, or discolored. The leaves should be perky and full of life. Stem Strength: Choose stems that are firm and sturdy, not brittle or easily bent. This indicates good hydration and overall health. Leaf Node Presence: Leaf nodes are the small bumps or points along the stem where leaves grow. These are crucial because roots will emerge from these nodes. Ensure your chosen stems have several healthy-looking leaf nodes. Avoid Flowers: While flowering Thai basil can still be used for cooking, stems with flowers or buds are less likely to root successfully. The plant is focusing its energy on flower production rather than root development.
What to Avoid
Steer clear of stems that exhibit any of the following:
Bruised or Damaged Leaves: Damaged leaves can be a sign of mishandling or disease. Signs of Pests: Inspect the stems and leaves carefully for any signs of pests, such as aphids or spider mites. Mold or Mildew:Discard any stems that show signs of mold or mildew.
Preparing Your Thai Basil Cuttings for Rooting
Once you've selected your healthy Thai basil stems, it's time to prepare them for rooting. This process involves trimming the stems and creating an environment conducive to root growth.
Trimming the Stems
Follow these steps to prepare your Thai basil cuttings:
1.Remove Lower Leaves: Using clean scissors or pruning shears, carefully remove the leaves from the bottom 1-2 inches of each stem. This will expose the leaf nodes and allow roots to emerge without obstruction. Removing these leaves also prevents them from rotting in the water, which can contaminate the rooting environment.
2.Cut at an Angle (Optional): Some gardeners recommend cutting the bottom of the stem at a 45-degree angle to increase the surface area for water absorption. While not strictly necessary, it can potentially improve rooting success.
3.Stem Length: Aim for cuttings that are around 4-6 inches in length. Shorter cuttings might not have enough energy reserves, while longer cuttings might be more prone to wilting.
Choosing Your Rooting Method: Water vs. Soil
There are two primary methods for rooting Thai basil cuttings: water propagation and direct soil propagation. Water propagation is generally considered easier for beginners as it allows you to visually monitor root development. Soil propagation can be more direct but requires careful attention to moisture levels.
Water Propagation: Involves placing the cuttings in a glass of water until roots develop, then transplanting to soil. Soil Propagation: Involves directly planting the cutting into a moist potting mix.
For this guide, we'll focus on water propagation, as it's the most beginner-friendly method.
Rooting Thai Basil Cuttings in Water
Water propagation is a simple and effective way to encourage root growth in your Thai basil cuttings. It provides a visible indication of progress and allows you to easily monitor the health of your cuttings.
Setting Up Your Water Propagation Station
1.Choose a Container: Select a clean glass jar or container with a narrow opening to hold the cuttings upright. A mason jar or even a recycled glass bottle works perfectly.
2.Fill with Water: Fill the container with fresh, clean water. Tap water is generally fine, but if your tap water is heavily chlorinated, you can let it sit out for 24 hours to allow the chlorine to dissipate, or use filtered water.
3.Place Cuttings in Water: Arrange the prepared Thai basil cuttings in the container, ensuring that the bottom 1-2 inches of the stems are submerged in water. Make sure no leaves are submerged, as they will rot.
4.Optimal Lighting: Place the container in a location that receives bright, indirect sunlight. A windowsill that faces east or west is ideal. Avoid direct sunlight, which can scorch the leaves and overheat the water.
5.Water Changes: Change the water every 1-2 days to prevent the growth of algae and bacteria. This will also ensure that the cuttings have access to fresh oxygen.
Monitoring Root Development
Within a week or two, you should start to see small white roots emerging from the leaf nodes along the submerged portion of the stems. The time it takes for roots to develop can vary depending on environmental factors such as temperature and light. Be patient, and continue to change the water regularly.
Once the roots are about 1-2 inches long, your Thai basil cuttings are ready to be transplanted into soil.
Transplanting Rooted Thai Basil Cuttings to Soil
Transplanting your rooted Thai basil cuttings to soil is a crucial step in ensuring their continued growth and development. This process requires careful handling and attention to detail to minimize transplant shock.
Choosing the Right Pot and Soil
1.Pot Selection: Choose a small pot (3-4 inches in diameter) with drainage holes. Drainage is essential to prevent waterlogging, which can lead to root rot.
2.Soil Selection: Use a well-draining potting mix that is rich in organic matter. A mix specifically formulated for herbs is ideal. You can also amend a general-purpose potting mix with perlite or vermiculite to improve drainage.
Transplanting Procedure
1.Moisten the Soil: Before transplanting, lightly moisten the potting mix. This will help the roots settle in more easily.
2.Gently Remove Cuttings: Carefully remove the rooted Thai basil cuttings from the water. Be gentle to avoid damaging the delicate roots.
3.Planting the Cuttings: Create a small hole in the center of the pot and gently place the roots into the hole. Cover the roots with potting mix, being careful not to bury the stem too deeply.
4.Water Thoroughly: After planting, water the soil thoroughly to help settle the roots.
5.Location: Place the newly transplanted Thai basil in a location that receives bright, indirect sunlight.
Post-Transplant Care
The first few weeks after transplanting are critical for your Thai basil plants. Providing proper care during this period will help them adapt to their new environment and thrive.
Watering: Keep the soil consistently moist, but not waterlogged. Check the soil moisture regularly and water when the top inch feels dry to the touch. Fertilizing: After a couple of weeks, you can start fertilizing your Thai basil plants with a diluted liquid fertilizer. Follow the instructions on the fertilizer package. Pinching: Pinching back the tips of the stems encourages bushier growth. Simply use your fingers to remove the top set of leaves on each stem. Sunlight: Ensure your Thai basil plants receive at least 6 hours of sunlight per day. If you don't have a sunny windowsill, you can supplement with a grow light.
Did you know that having the right tool can make all the difference in your gardening journey? For instance, a reliable garden hose can ensure your plants get the water they need, when they need it. If you are looking for a dependable option, consider a75 FT Garden Hose with 10-Function Nozzle, a leak-proof metal connector water hose designed for durability and ease of use. This kink-free, lightweight hose is perfect for watering your garden and outdoor spaces. You can find it here:https://amzn.to/3Yv E0Bo.
Troubleshooting Common Problems
Even with the best care, you might encounter some challenges when growing Thai basil from grocery store cuttings. Here are some common problems and how to address them:
Yellowing Leaves
Yellowing leaves can be caused by several factors, including:
Overwatering: Allow the soil to dry out slightly between waterings. Nutrient Deficiency: Fertilize your plants with a balanced liquid fertilizer. Lack of Sunlight:Move your plants to a location with more sunlight.
Wilting
Wilting can be caused by:
Underwatering: Water your plants thoroughly. Heat Stress: Move your plants to a cooler location. Root Rot:Check the roots for signs of rot (brown, mushy roots). If root rot is present, remove the affected roots and repot the plant in fresh soil.
Pests
Thai basil can be susceptible to pests such as aphids and spider mites. Here are some ways to control pests:
Insecticidal Soap: Spray your plants with insecticidal soap. Neem Oil: Apply neem oil to the leaves and stems. Handpicking:Remove pests by hand.
Harvesting and Using Your Homegrown Thai Basil
Once your Thai basil plants are established and growing vigorously, you can start harvesting the leaves for culinary use. Regular harvesting encourages bushier growth and prevents the plants from flowering, which can diminish the flavor of the leaves.
Harvesting Techniques
Pinching: The best way to harvest Thai basil is by pinching off the top sets of leaves. This encourages the plant to branch out and produce more leaves. Cutting Stems: You can also cut entire stems, but be sure to leave at least a few sets of leaves on the plant to allow it to continue growing. Timing:Harvest Thai basil in the morning, after the dew has dried but before the sun gets too hot. This is when the leaves are at their most flavorful.
Using Your Thai Basil
Thai basil has a distinctive anise-like flavor that is perfect for a variety of dishes. Here are some popular uses:
Thai Cuisine: Use Thai basil in stir-fries, curries, soups, and salads. Vietnamese Cuisine: Add Thai basil to pho, summer rolls, and other Vietnamese dishes. Italian Cuisine: Substitute Thai basil for regular basil in pesto or pasta sauces. Garnishes: Use Thai basil as a garnish for salads, soups, and appetizers.
By following these steps, you can successfully grow Thai basil from grocery store cuttings and enjoy fresh, flavorful herbs all season long. Happy gardening!