Picture this: you’re making a delicious pesto, but you're out of fresh basil! A quick trip to the grocery store solves the problem, but what if you could extend the life of that store-bought basil and create an endless supply? The good news is, with a little know-how, you absolutely can! Growing Basil From Store-Bought: A Complete Guide So, can you really grow basil from store bought bunches? Absolutely! It's a fantastic way to save money, reduce waste, and enjoy fresh basil whenever you need it. However, the success of growing basil from store bought depends on a few key factors. This article will walk you through the entire process, from selecting the right basil to harvesting your homegrown leaves. We'll cover everything you need to know to successfully propagate basil from your grocery store haul. Selecting the Right Store-Bought Basil for Propagation Not all store-bought basil is created equal when it comes to propagation. To increase your ...
Imagine stepping outside your door and snipping fresh, fragrant basil leaves to add to your favorite pasta sauce, pesto, or even a refreshing summer cocktail. Growing your own basil from seed is not only incredibly rewarding, but it's also surprisingly easy! Let's explore the simple steps on how to grow basil seeds at home, ensuring a bountiful harvest of this culinary staple.
How To Grow Basil From Seed At Home: A Comprehensive Guide
Growing basil at home from seed is a great way to have fresh herbs on hand whenever you need them. It is cheaper than buying basil from the store and you'll have the satisfaction of knowing you grew it yourself. There are two primary methods to growing basil from seed: starting seeds indoors and direct sowing into the garden. Both have their advantages, and we'll cover them in detail.
Starting Basil Seeds Indoors
Starting basil seeds indoors gives you a head start on the growing season, especially if you live in an area with a shorter growing season. It allows you to control the environment, ensuring optimal conditions for germination and early growth. Here's a breakdown of the process:
Choosing the Right Time to Start Seeds Indoors
Timing is crucial when starting basil seeds indoors. Generally, you should start your seeds about 6-8 weeks before the last expected frost in your area. This allows the seedlings to develop a strong root system and be ready to transplant outdoors once the weather warms up. You can find the average last frost date for your region by consulting local weather resources or gardening calendars. Here’s a quick guide:
- 6-8 Weeks Before Last Frost: Ideal for most regions.
- Consider Your Climate: If you have a particularly short growing season, you might want to start a bit earlier.
- Check Seed Packet: Some basil varieties may have specific recommendations on the seed packet.
Materials You'll Need
Before you begin, gather all the necessary materials:
- Basil Seeds: Choose your favorite variety! There are many options, from sweet basil to lemon basil to Thai basil.
- Seed Starting Trays or Small Pots: These should have drainage holes to prevent waterlogging.
- Seed Starting Mix: A light, sterile mix specifically formulated for seed starting. Avoid using garden soil, as it can be too heavy and may contain pathogens.
- Watering Can or Spray Bottle: For gentle watering.
- Heat Mat (Optional): To provide consistent warmth for germination.
- Grow Lights (Optional): To supplement natural light, especially in areas with limited sunlight.
Step-by-Step Instructions
- Prepare the Seed Starting Trays/Pots: Fill the trays or pots with seed starting mix, leaving about half an inch of space at the top. Lightly tamp down the soil.
- Sow the Seeds: Sprinkle 2-3 basil seeds per cell or pot. Basil seeds are tiny, so be careful not to overcrowd them. Gently press the seeds into the soil.
- Cover the Seeds: Lightly cover the seeds with a thin layer of seed starting mix. Basil seeds need light to germinate, so don't bury them too deeply.
- Water Gently: Moisten the soil with a gentle spray from a watering can or spray bottle. Avoid overwatering, which can lead to damping-off disease.
- Provide Warmth: Place the trays or pots on a heat mat (if using) and cover them with a humidity dome or plastic wrap to retain moisture.
- Provide Light: Place the trays or pots under grow lights or in a sunny window. Basil seeds need at least 6-8 hours of light per day.
- Monitor Moisture Levels: Check the soil moisture daily and water as needed to keep it consistently moist but not soggy.
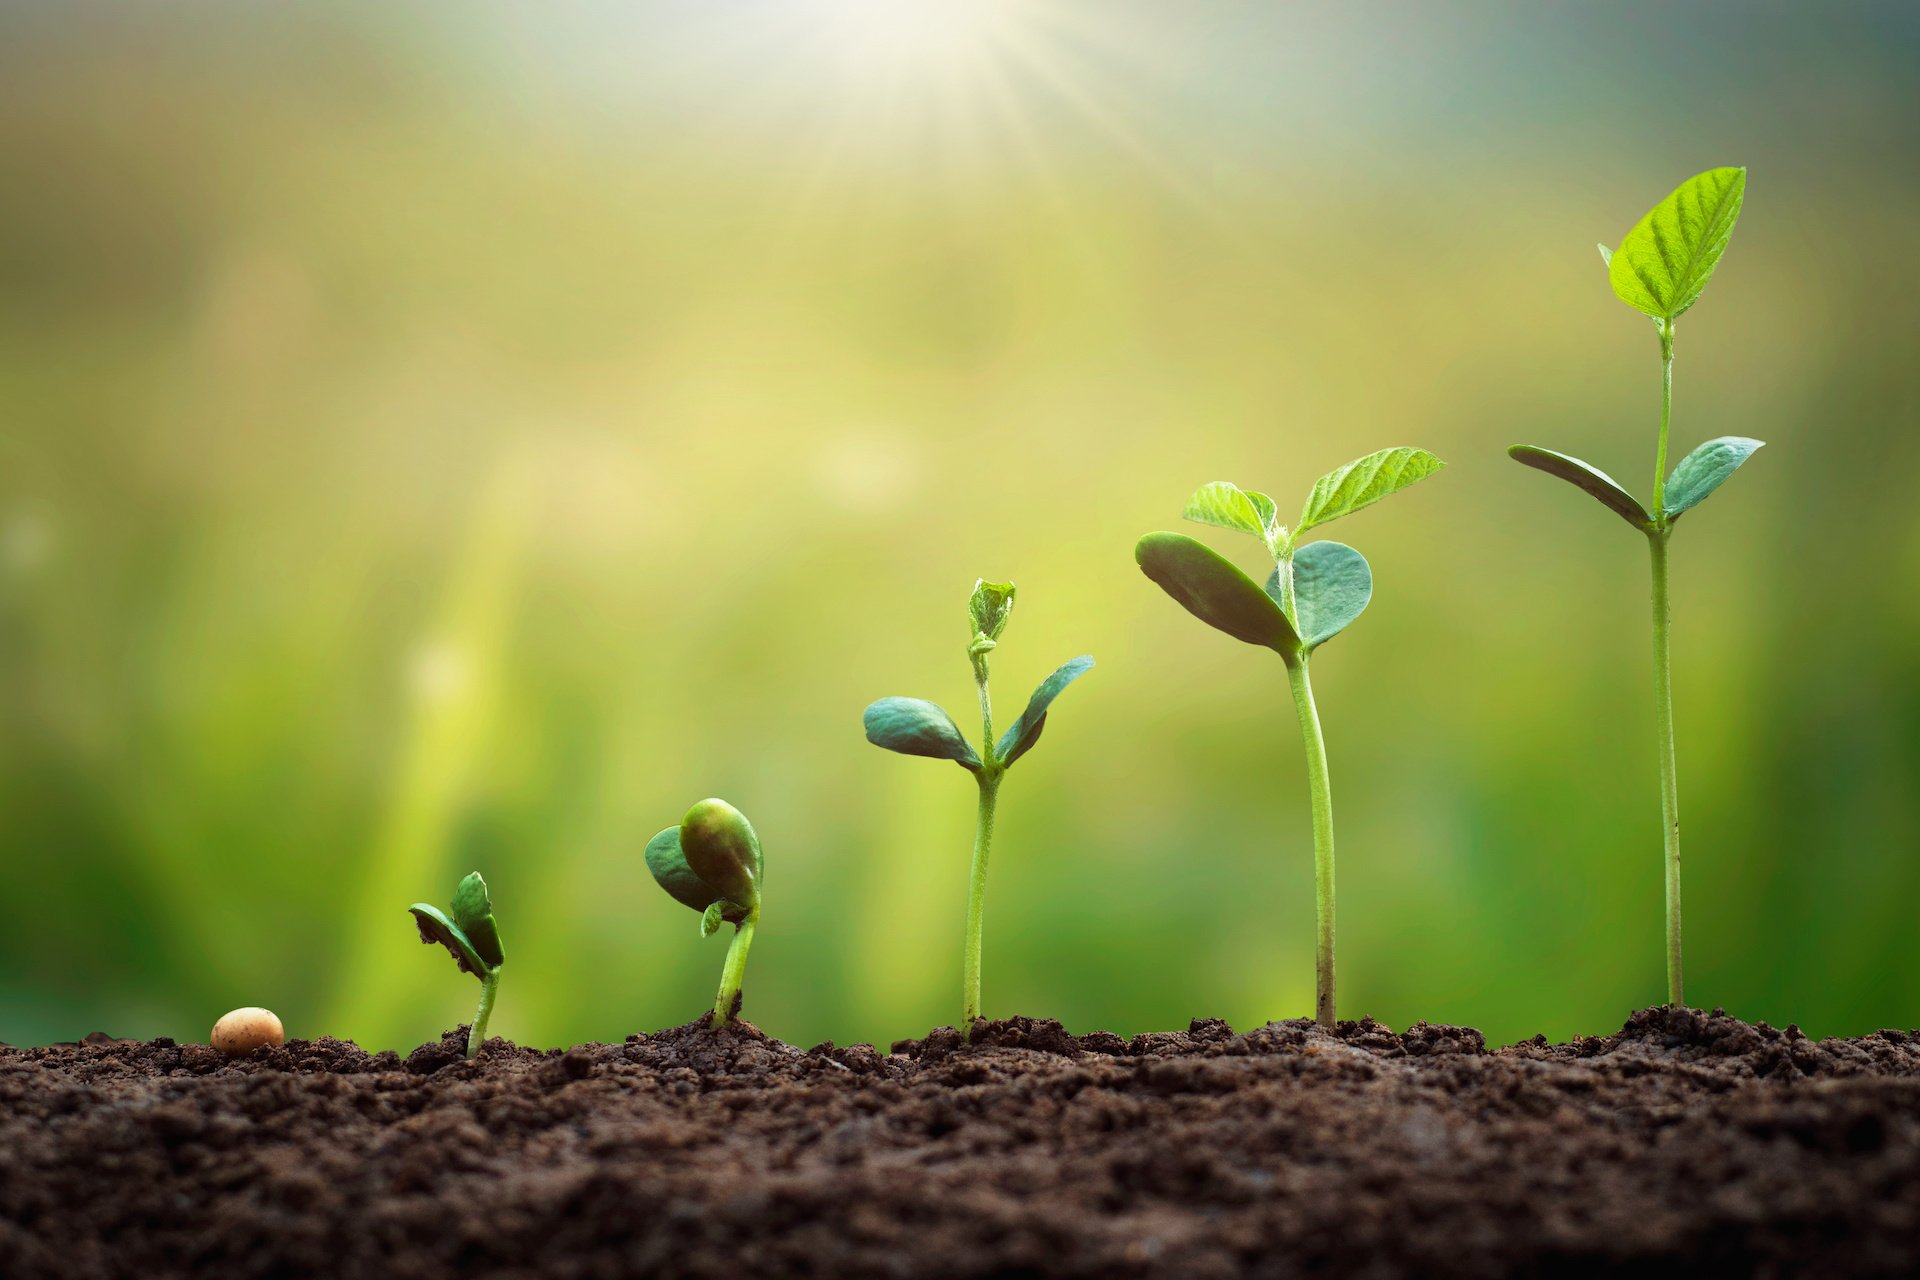
- Germination: Basil seeds typically germinate in 5-10 days. Once the seedlings emerge, remove the humidity dome or plastic wrap.
- Thin the Seedlings: Once the seedlings have their first true leaves (the second set of leaves), thin them to one strong seedling per cell or pot by snipping off the weaker seedlings at the soil line.
Caring for Seedlings Indoors
Once your basil seeds have germinated and you've thinned them, it's important to provide the right care to ensure they grow into healthy, robust plants. Here's what you need to do:
- Light: Continue to provide ample light, either from grow lights or a sunny window. If using a window, rotate the trays or pots regularly to ensure even growth.
- Watering: Water regularly, allowing the soil to dry out slightly between waterings. Avoid overwatering, which can lead to root rot.
- Fertilizing: Start feeding the seedlings with a diluted liquid fertilizer (half strength) once a week after they have their first true leaves.
- Hardening Off: Before transplanting the seedlings outdoors, you'll need to "harden them off" gradually. This process acclimates the plants to outdoor conditions, such as sunlight, wind, and temperature fluctuations. Start by placing the seedlings outdoors in a sheltered location for a few hours each day, gradually increasing the amount of time they spend outside over the course of a week or two.
Direct Sowing Basil Seeds Into the Garden
Direct sowing involves planting basil seeds directly into the garden soil, eliminating the need for transplanting. This method is best suited for regions with warm, long growing seasons. While seemingly more straightforward, you need to ensure conditions are just right for success.
When to Direct Sow Basil Seeds
The optimal time to direct sow basil seeds is after the last frost when the soil has warmed up to at least 60°F (15°C). Basil is a warm-weather herb and will not tolerate frost. Wait until the soil has had a chance to warm up properly. Planting too early can result in poor germination or stunted growth. Here's a simple guide:
- After Last Frost: Wait until all danger of frost has passed.
- Soil Temperature: Ensure the soil is warm to the touch.
- Consistent Warm Weather: Aim for a period of consistently warm days and nights.
Preparing the Garden Bed
Proper soil preparation is essential for successful direct sowing. Basil thrives in well-drained, fertile soil with a p H of 6.0-7.5. Prepare your garden bed by following these steps:
- Choose a Sunny Location: Select a location that receives at least 6-8 hours of sunlight per day.
- Clear the Area: Remove any weeds, rocks, and debris from the area.
- Amend the Soil: Incorporate compost or other organic matter into the soil to improve drainage and fertility.
- Rake the Soil: Rake the soil to create a smooth, even surface.
Sowing the Seeds
Now it's time to sow the basil seeds. Follow these steps:
- Create Shallow Furrows: Make shallow furrows in the soil, about ¼ inch deep, spaced 12-18 inches apart.
- Sow the Seeds: Sprinkle the basil seeds thinly along the furrows.
- Cover the Seeds: Lightly cover the seeds with a thin layer of soil.
- Water Gently: Water the area gently with a watering can or spray bottle to moisten the soil.
- Keep the Soil Moist: Keep the soil consistently moist until the seeds germinate.
Caring for Basil Seedlings in the Garden
Once the basil seedlings emerge, they will need regular care to thrive. Here's what you need to do:
- Thin the Seedlings: Once the seedlings have a few sets of leaves, thin them to 6-12 inches apart.
- Water Regularly: Water regularly, especially during dry periods. Basil needs consistent moisture to thrive.
- Weed Regularly: Keep the area around the basil plants free of weeds. Weeds compete with basil for nutrients and water.
- Fertilize (Optional): If the soil is poor, you can fertilize the basil plants with a balanced fertilizer every few weeks.
Tips for Success in Growing Basil From Seed At Home
Growing basil from seed can be incredibly rewarding, but it's essential to understand the ins and outs to maximize your chances of success. Here are some invaluable tips to keep in mind throughout the process:
Choosing the Right Basil Variety
Basil comes in a wide range of varieties, each with unique characteristics and flavors. Selecting the right variety for your needs is an important first step. Some popular options include:
- Sweet Basil: The most common variety, perfect for pesto and Italian dishes.
- Genovese Basil: A classic Italian variety with large, fragrant leaves.
- Thai Basil: A licorice-flavored basil commonly used in Asian cuisine.
- Lemon Basil: A citrusy basil that adds a bright flavor to salads and teas.
- Purple Basil: An ornamental variety with beautiful purple leaves and a slightly spicy flavor.
Consider what you plan to use the basil for when choosing a variety. If you're making pesto, sweet basil or Genovese basil are excellent choices. If you're cooking Asian dishes, Thai basil is a must-have.
Common Problems and Solutions
Even with the best care, basil plants can sometimes encounter problems. Here are some common issues and how to address them:
- Damping-Off: A fungal disease that causes seedlings to rot at the soil line. Prevent damping-off by using sterile seed starting mix, providing good air circulation, and avoiding overwatering.
- Aphids: Small, sap-sucking insects that can weaken basil plants. Control aphids by spraying them with a strong stream of water or using insecticidal soap.
- Japanese Beetles: Beetles that can skeletonize the leaves of basil plants. Handpick beetles or use insecticides.
- Downy Mildew: A fungal disease that causes yellow spots on the leaves. Prevent downy mildew by providing good air circulation and avoiding overhead watering.
Harvesting Basil
Harvesting basil regularly encourages the plant to produce more leaves. Start harvesting when the plants are about 6-8 inches tall. Pinch off the top sets of leaves, just above a leaf node. This will encourage the plant to branch out and become bushier.
Avoid harvesting more than one-third of the plant at a time, as this can stress the plant. You can harvest basil throughout the growing season until the first frost. Store freshly harvested basil in a glass of water in the refrigerator or dry it for later use.
With a little care and attention, you can enjoy a bountiful harvest of fresh basil from your own garden. Whether you're starting seeds indoors or direct sowing into the garden, following these tips will help you grow healthy, flavorful basil plants. So, get started today and experience the joy of growing your own herbs! Don't forget to have the proper tools for watering, such as a qualitygarden hose 75 FT with 10-Function Nozzle, Leak-proof Metal Connector Water Hose, No Knots, Kink-Free, Lighter, Anti-Pets, Wear-Resistant, 3/4 GHT, Metal Hose for Garden, Yard, Outdoor. Consider investing in this durable and versatile watering solution to effortlessly hydrate your plants. You can find it here: https://amzn.to/3Yv E0Bo. Consider also other types of flexible watering hose*that is available on the market to suit your gardening needs.